Forms With Perspective: Eye Level and The Pencil Test
Structure equals form plus position. Now let's add perspective to the mix. Here's the simplified version: perspective is just understanding eye level and how forms change based on YOUR position relative to the model.

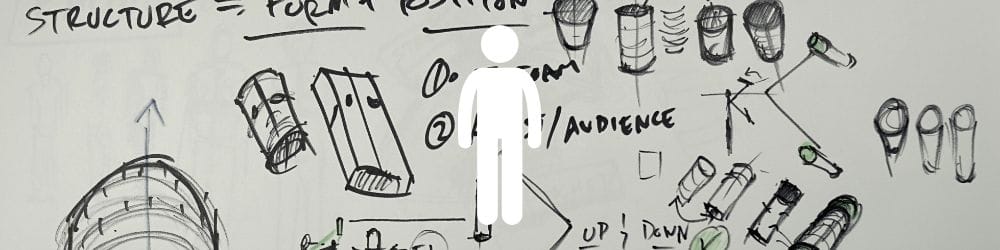
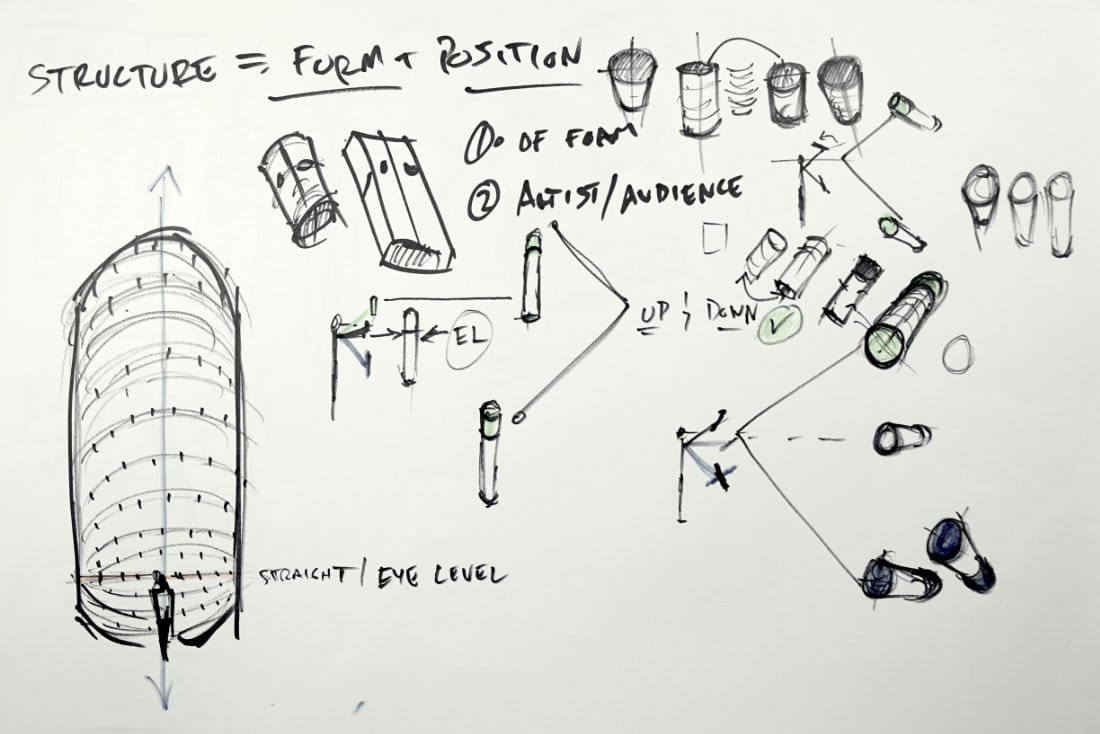
Structure = Form + Position. Now let's add perspective to the mix to advance your figure drawing skills.
Here's the simplified version: perspective is just understanding eye level and how forms change based on YOUR position.
This lesson is part of the Figure Drawing Course - a complete free course teaching you to draw the human body from scratch.
Watch the full lesson: hit play and learn how forms with perspective can advance your people drawings.
Eye Level Changes Everything
Stand in front of a building and look straight ahead. You have an eye level - and it goes with you wherever you look.
At eye level: Things appear straight
Above eye level: You see the bottom, curves become visible
Below eye level: You see the top, curves go the opposite way
Think of windows on a skyscraper. The windows at your eye level look straight. Windows above you? You see the bottom and they curve. Windows below? You see the top.
This applies to EVERYTHING you draw.
The Pencil Test
Grab a pen. Hold it vertically at eye level. The cap looks straight, right?
Now hold it above your head - you see the bottom and the curves change. Hold it below you - you see the top and curves flip.
This is perspective in action.
Now tilt that pen away from you while holding it up. The curves become MORE exaggerated. You see MORE of the bottom. The pen appears shorter.
Two variables:
- Height (above, at, or below eye level)
- Tilt (toward you, away from you, or vertical)
Position Has Two Parts
Remember: position means TWO things.
1. Position of the form (where's the model?)
2. Your position (where are YOU?)
Your viewer sees from YOUR vantage point. Looking up at the model? They see bottom curves. Looking down? They see top curves.
Tapering = Distance
When forms tilt away from you, they taper. The further away, the narrower they get.
A tube tilting away? The far end is smaller. This creates the illusion of depth.
More taper = more dramatic depth.
Avoid Flat Views
Here's a critical rule: When in doubt, pick a dynamic angle.
If something looks perfectly flat and straight-on, you've killed the form. No volume, no depth, no interest.
Better to err toward:
- Seeing slightly underneath
- Seeing slightly on top
- ANY curve over perfectly flat
Flat = boring. Dynamic = interesting. When you make mistakes, make them toward dynamic angles.
Practice This NOW
Do the pencil test yourself:
- Hold a pen at eye level (straight)
- Hold it above you (see bottom)
- Hold it below you (see top)
- Tilt it away while above (exaggerated curves)
- Tilt it toward while above (curves flatten, then reverse)
Watch how the curves change. That's perspective.
Now apply this to figure drawing: torsos, limbs, heads - they're all cylinders and boxes that follow these exact rules.
Eye level. Curves. Tapering. Position.
That's perspective simplified.
Course Navigation
Part of: Figure Drawing Course > Module 1: Foundation
← Previous Lesson: Forms
Next Lesson → Simple & Characteristic
Continue Learning
If you enjoyed this hand drawing course, explore even more lessons on our Free Drawing Tutorials & Courses Hub — including the complete How to Draw – Beginner’s Course.
Want new tutorials delivered to your inbox? Subscribe here and get free lessons, tips, and inspiration sent directly to you.


