Wet-in-Wet Watercolor Fundamentals
Master the foundation of painterly style painting with wet-in-wet watercolor techniques. Learn essential paint mixtures, timing secrets, and how to avoid common beginner mistakes like cauliflowering.


Wet-in-wet watercolor is the foundation of painterly style painting—that loose, organic look that makes watercolors so captivating. But it's also one of the most challenging techniques for beginners to master. The key is understanding water control, timing, and embracing the medium's natural flow rather than fighting against it.
👉 Want step-by-step lessons? Visit the Watercolor Hub for tutorials and free courses.
Understanding Wet-in-Wet Basics
Wet-in-wet involves applying wet paint to a wet surface, creating soft, blended effects that are impossible to achieve with other techniques. Unlike controlled wet-on-dry methods, wet-in-wet requires you to work with gravity and water flow—making it perfect for developing a natural, painterly approach.
Essential Setup:
- Pre-wet your paper evenly, avoiding puddles
- Use a clean, damp brush to control water distribution
- Remember: water goes uphill toward drier surfaces
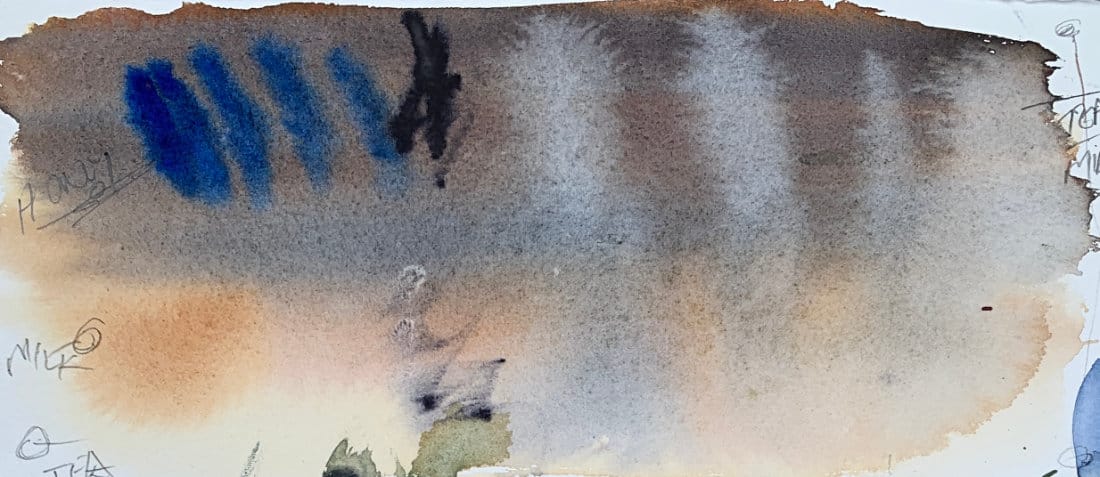
The Three Essential Paint Mixtures
Understanding paint consistency is crucial for wet-in-wet success:
Tea Mixture (Thin & Transparent)
- High water, minimal pigment
- Creates light, transparent washes
- Perfect for initial layers and atmospheric effects
Milk Mixture (Medium Consistency)
- Balanced water-to-pigment ratio
- Ideal for gradations and variegated washes
- Most versatile for intermediate techniques
Honey Mixture (Thick & Controlled)
- Minimal water, maximum pigment
- Holds its shape better in wet areas
- Prevents cauliflowering when applied to drying washes
Timing: The Critical Factor
Wet Surface Indicators:
- Paper has a visible sheen
- Colors blend and flow freely
- New applications create soft edges
Semi-Dry Timing:
- Sheen beginning to disappear
- Some control returning
- Risk of cauliflowering with thin mixtures
Environmental Considerations:
- Humid conditions (like Virginia summers) slow drying
- Dry climates accelerate the process
- Adjust timing expectations based on your location
Creating Gradations and Variegated Washes
Gradations: Smooth transitions from light to dark (or vice versa)
- Apply base wash evenly
- Introduce darker color while surface is still wet
- Allow gravity and water flow to create natural transitions
Variegated Washes: Multiple colors blending organically
- Start with one color on wet surface
- Introduce additional hues while wet
- Embrace the unpredictable color mixing—it's part of the painterly style charm
Common Mistakes and Solutions
Cauliflowering (Backruns)
Cause: Adding thin paint to a surface that's too dry Prevention: Use thicker paint mixtures on drying surfaces, or wait until completely dry
Muddy Colors
Cause: Overworking wet areas or poor color choices Solution: Plan color combinations, work quickly, avoid excessive manipulation
Loss of Control
Cause: Fighting the medium instead of working with it Solution: Embrace unpredictability—some of the best painterly effects come from "happy accidents"
Developing Your Painterly Style
Wet-in-wet is fundamental to loose, expressive painting. Instead of pursuing perfect control, focus on:
- Working with water flow rather than against it
- Accepting organic color mixing
- Building confidence through practice
- Learning when to stop—overworking kills the spontaneous effect
Building Your Wet-in-Wet Skills
This foundational technique sets you up for more advanced applications:
- Next: Non-Variegated Wet-In-Wet Timing Control
- Then: Wet-In-Wet Color & Variegated Washes
- Advanced: Problem-solving and happy accident recovery
Ready to dive deeper? Explore my complete painterly style resource hub for systematic skill-building tutorials that take you from fundamental techniques to confident, expressive painting.
Continue Learning
👉 Next stop: check out my Free Watercolor Painting Course or browse the Watercolor Tutorials Hub to keep building your skills.
👉 Follow me on Pinterest for daily watercolor inspiration!
If you enjoy these kinds of raw insights and loose watercolor demos, you’ll feel right at home here. Subscribe to Crafted by Robert and follow along as I share painting inspiration, tips, and behind-the-scenes stories straight from my garage studio. 👉 Subscribe to Crafted by Robert
Materials You’ll Need
Here are the materials I use all the time and have for decades. I only buy from Blick Art but feel free to shop where you prefer.
Recommended Watercolor Materials
-
Holbein Professional Watercolor Paints – 8 Essential Hues
Yellow Ochre, Cadmium Lemon Yellow, Ultramarine Blue, Cerulean Blue, Alizarin Crimson, Cadmium Red Light, Neutral Tint, Burnt Sienna -
Fabriano Artistico Watercolor Paper – 140lb Cold Press
Buy full sheets and cut into quarter sheets for best value -
Silver Jumbo Wash Brush
Great coverage, excellent quality for the price -
Princeton Neptune Point Rounds (No. 12 & 6)
Reliable and affordable detail & wash brushes -
Princeton Neptune Dagger (1/2")
Versatile size for lines, edges, and detail work -
Masterson Aqua Pro Palette
Durable, with deep wells for generous mixing space -
Gator Board
Lightweight, long-lasting painting support board -
Holbein White Gouache
Optional for highlights and fine details - Miscellaneous: plastic water containers, paper towels, masking tape
Ready to develop your painterly style? Check out our Painterly Style Hub for systematic tutorials that build on these fundamental techniques.


