Opposite Hand Drawing | Fun Beginner Exercise to Improve Your Skills

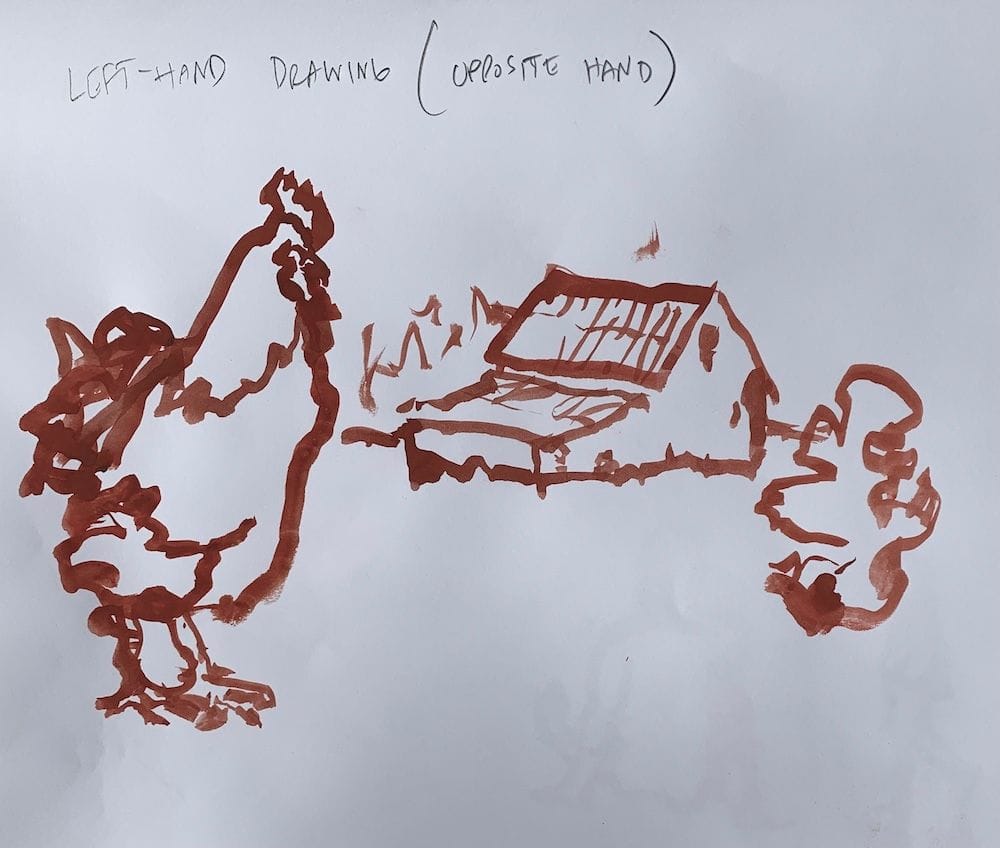
Opposite hand drawing is a fun beginner exercise that helps improve your skills and shake off creative ruts. Using your non-dominant hand forces you to slow down, observe closely, and discover a more expressive, playful line quality in your drawings.

Try These Fun Drawing Exercises to Improve Your Skills

Opposite hand drawing is one of the most fun beginner drawing exercises you can try to improve your skills. Every artist hits ruts — maybe it’s the subject matter, maybe it’s using the same colors on the palette day after day, or maybe it’s falling into the same drawing habits. When I feel stuck in my garage studio, I change gears. I might switch from watercolor to acrylic, shift to a different subject, or shake things up with a fresh drawing practice.

That’s where opposite hand drawing comes in. Using your non-dominant hand to sketch feels awkward and clumsy at first, but it’s a surefire way to break routine. It puts you in a different mindset, forces you to slow down, and brings a sense of play back into the process.

I’m big on the feeling of creating art — am I exploring and carefree, or am I just repeating old patterns? Opposite hand drawing helps me reset, and I hope this exercise gives you a fresh spark too. You can even combine it with other drills: try a blind contour with your opposite hand, flip your paper upside down, or mix multiple exercises together. The sky’s the limit.

Want more lessons? Visit the Free Drawing Tutorials & Courses hub

Step 1 – Grab Your Non-Dominant Hand

If you’re right-handed, draw with your left. If you’re left-handed, switch to your right. It doesn’t matter what tool you use — pencil, brush, or marker — the challenge is what counts.

👉 Benefit: Forces you to abandon habits and start fresh, which wakes up your observation skills.


Step 2 – Slow Down and Notice Angles

When you switch hands, your brain doesn’t run on autopilot. You’ll find yourself checking:

  • Is this angle vertical or horizontal?
  • Greater or less than a right angle?
  • Where does this line fall compared to a clock hand?[English (auto-generated)] Oppo…

👉 Benefit: You become hyper-aware of relationships, angles, and proportions you might normally overlook.


Step 3 – Pick Different Subjects

Try both organic subjects (like animals or plants) and man-made ones (buildings, tools, furniture). Switching it up keeps you from falling into comfort zones.

👉 Benefit: Practicing outside your go-to subjects builds flexibility and strengthens your overall drawing.


Step 4 – Embrace the Line Quality

Your non-dominant hand won’t make perfect lines — and that’s the beauty of it. You’ll get sensitive, hesitant marks, and edges that feel more expressive than stiff. These “flaws” often bring character to the drawing.

👉 Benefit: Teaches you to value expressiveness over perfection.

Try These Fun Drawing Exercises to Improve Your Skills

Why Opposite Hand Drawing Works

  • Builds hand–eye coordination
  • Breaks comfort zones and old habits
  • Improves accuracy by forcing close observation
  • Produces expressive, sensitive lines

Motivational Reminder

At first, it’ll feel clumsy — like learning to write again. But that’s the point. Opposite hand drawing isn’t about making a masterpiece; it’s about training yourself to see differently. Keep at it, and you’ll find your dominant-hand drawings get sharper, freer, and more alive.


Next Steps

Add this exercise to your warm-ups, then explore more beginner-friendly drills:

👉 Semi-Blind Contour Drawing →
👉 Negative Space Drawing →
👉 Or return to the Free Beginner Drawing Course