Robert’s Nose Assignment – Construction and Planes
Watch Robert complete the nose assignment. Learn how to build accurate structure, find angles, and connect the nose within the head.

In this demo, I’m completing the same nose drawing assignment you just finished. Each pose follows a four-minute timer, and I focus on structure, planes, and how the nose connects to the rest of the face.
You’ll see how I start with construction, establish the angles of the nose, and then build from the tip and under-planebefore connecting to the eyes and mouth.
This lesson is part of the Head Drawing Course.
Establishing the Framework
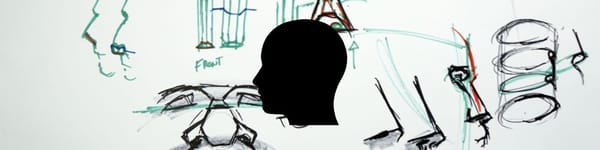
I begin every pose with a quick head construction, using a centerline and a few horizontal guides to locate the eyes, nose, and mouth. From there, I block in the nose wedge and map out the bridge, wings, and tip.
Using a ballpoint pen keeps me honest — no erasing, just confident marks and quick corrections. Each drawing starts with a loose ball for the tip, then I box it in to clarify the planes and direction.
Understanding Overlaps and Angles
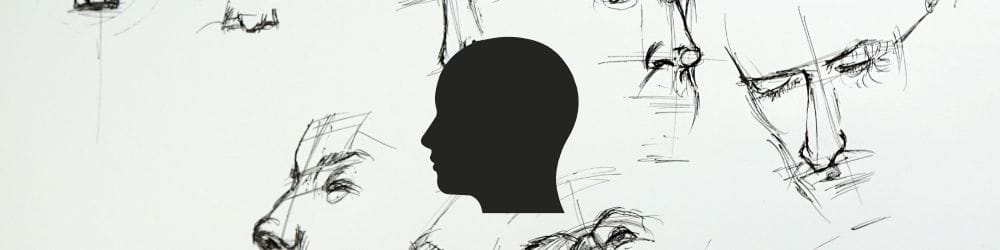
In the three-quarter views, I pay close attention to overlap — making sure the tip sits in front of the wings, and the under-plane rolls beneath the form. That little bit of separation creates depth.
When the head tilts down, the top plane shortens and the nostrils move higher in perspective. When the head tilts up, the under-plane expands, and you see more of the nostril interiors.
The trick is to think in planes, not outlines — every turn of the surface has a direction in space.
Connecting to the Eyes and Mouth
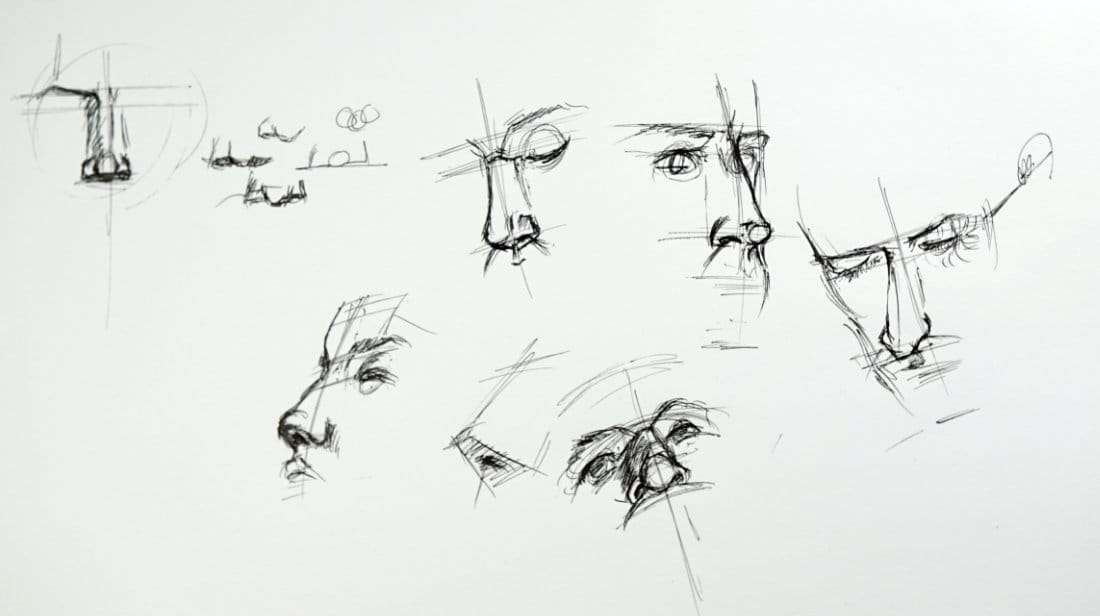
I always extend my construction lines to connect the nose into the eye sockets and down toward the barrel of the mouth. This helps keep the features aligned within the head’s rhythm.
You’ll notice how I pull those brow lines up and over the nasal root, letting them curve naturally with the skull. Even in short studies, this connection adds life and proportion.
Key Takeaways
- Start with a ball for the tip, then define the wedge and planes.
- Find the angle of the nose before committing to details.
- Make sure the under-plane tucks beneath the tip, not beside it.
- Use the brow and cheek planes to anchor the nose in the head.
- Don’t outline — describe planes with confident, angular strokes.
Final Thoughts
Each four-minute study is an opportunity to test your construction accuracy. If your proportions feel off, check the angle of the nose first — most issues trace back to that.
And remember: the goal isn’t perfection. It’s to build awareness of how the nose sits within the head, and how light and form interact from every angle.
Course Navigation
Previous Lesson: Nose Drawing Assignment – Practice Structure & Planes
Next Lesson: How to Draw the Mouth – coming soon
Visit the Head Drawing Hub
Continue Learning
If you enjoyed this hand drawing course, explore even more lessons on our Free Drawing Tutorials & Courses Hub — including the complete How to Draw – Beginner’s Course.
Want new tutorials delivered to your inbox? Subscribe here and get free lessons, tips, and inspiration sent directly to you.