Robert’s Mouth Drawing Assignment Demo
A full mouth drawing demo where I apply everything covered in the mouth lessons — showing how to wrap lips around the muzzle and capture realistic form.

This demo wraps up the mouth section of the head drawing course. Here, I put all the theory into action, simplifying shapes, tracking the features, and focusing on how the mouth wraps around the muzzle. It’s not about pretty drawings; it’s about understanding structure and flow.
This lesson is part of How to Draw the Head Course.
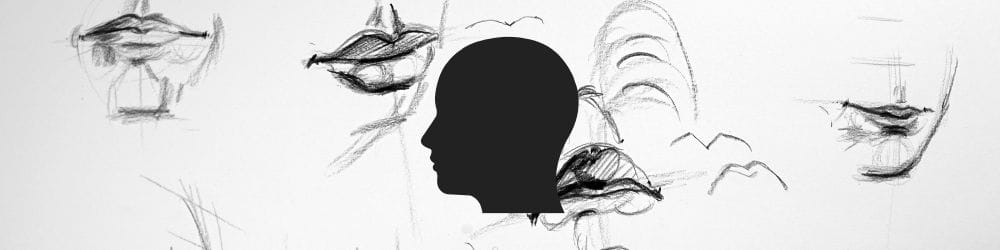
Front View Study
I start with a straight-on view to build awareness of symmetry and subtle shifts.
By holding a pencil across the corners of the lips, you’ll notice the center sits slightly higher than the sides, a key to keeping the expression natural.
The upper lip’s “V” shape fades softly toward the edges, and the bottom lip maintains just enough fullness to create that familiar pouty transition into the chin. Adding a touch of tone under the lip emphasizes that rounded volume and helps you see how the mouth connects to the rest of the head.

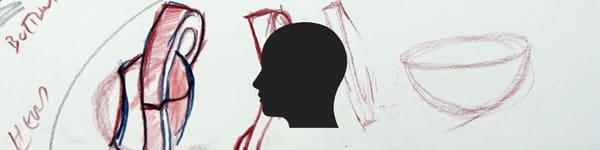
Angle and Form
As soon as the head tilts, everything changes.
The center line of the lips curves, sometimes downward so you’ll want to adjust both corners to follow that rhythm. In angled views, the top plane shortens, and one side of the lips often tucks behind the muzzle.
The goal here is to keep tracking everything across the head’s structure. You’re not drawing a flat sticker on a face, you’re wrapping forms around a 3D surface.
You’ll see me add heavier line weight near the corners and keep softer edges in the center to show pressure, depth, and where the lips meet.
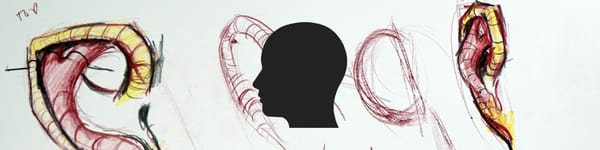
Three-Quarter and Profile Views
In the three-quarter views, the far corner fades out, and the lip volumes turn with perspective.
One side becomes fuller, the other side flatter. That’s how you capture the illusion of roundness.
Watch how I use the philtrum and chin as guideposts, they help track how the mouth sits in space.
In profile, it’s easy to see the “box” of the mouth, a front and side plane that connect through the lips. The upper lip tucks under the nose, and the bottom lip rolls forward before tapering into the chin. Keep your line work light here, just enough to describe form without locking anything down.
Tips for Your Practice
- Use a pencil or stylus to check angles before committing lines.
- Look for pillowy forms, lips are round masses, not outlines.
- Adjust line weight to show pressure and depth.
- Focus on tracking lines that connect lips, nose, and chin as one unit.
- Avoid symmetry traps, real mouths are rarely mirror-perfect.
Final Thoughts
This is where construction meets rhythm. Don’t get stuck on pretty lines or minor details. Instead, train your eye to see how lips sit in space, how they roll around the head, and how every stroke connects back to the larger form.
Once that clicks, your portraits will instantly feel more dimensional and alive.
Course Navigation
Previous: Mouth Drawing Assignment – Practice Reel
Next: Ear Drawing 101 - coming soon
Head Drawing Hub: View Full Course Hub
Continue Learning
If you enjoyed this hand drawing course, explore even more lessons on our Free Drawing Tutorials & Courses Hub — including the complete How to Draw – Beginner’s Course.
Want new tutorials delivered to your inbox? Subscribe here and get free lessons, tips, and inspiration sent directly to you.