Robert’s Eye Drawing Assignment – Angles & Structure
In this demo, I draw the eyes from several angles and explain how to keep structure consistent while staging the brow ridge and eyeball.

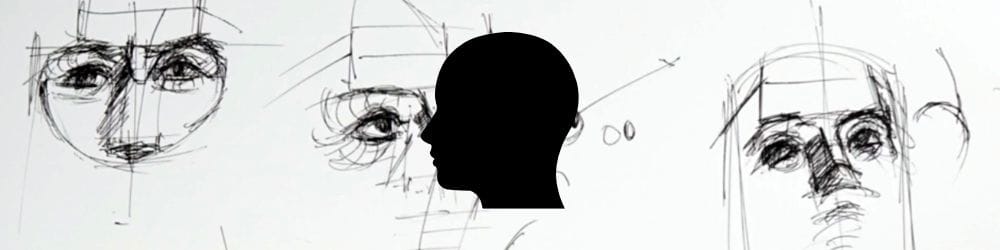
Now that you’ve completed the timed assignment, here’s my version. I’m walking through the same six poses—front, three-quarter, below, top, and profile views—focusing on structure, staging, and rhythm rather than polished finishes.
This lesson is part of the Head Drawing Course.
Front View – Establishing the Structure
I start with the front view and basic construction lines to map out the centerline, brow ridge, and nose wedge.
Even though the model’s features have subtle asymmetry, the wedge through the center helps anchor the placement.
From there, I drop in the eyeballs, making sure they sit back into the skull—not on top of it. The eyelids wrap around the eyeballs, and you can already feel that slight swelling under the lower lid that gives the form life.
Three-Quarter View – The Curvature of Planes
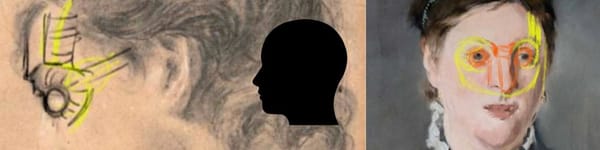
At this angle, I can really see the curve of the eye socket wrapping around the skull.
The front and side planes of the head meet right through the eyes. I make sure the iris and pupil follow that curve, which helps them look properly aligned.
The eyebrow rhythm plays a huge part here—it flows up, over, and fades back, connecting to the top of the cheek plane. This creates that natural overlap you see in strong portrait drawings.
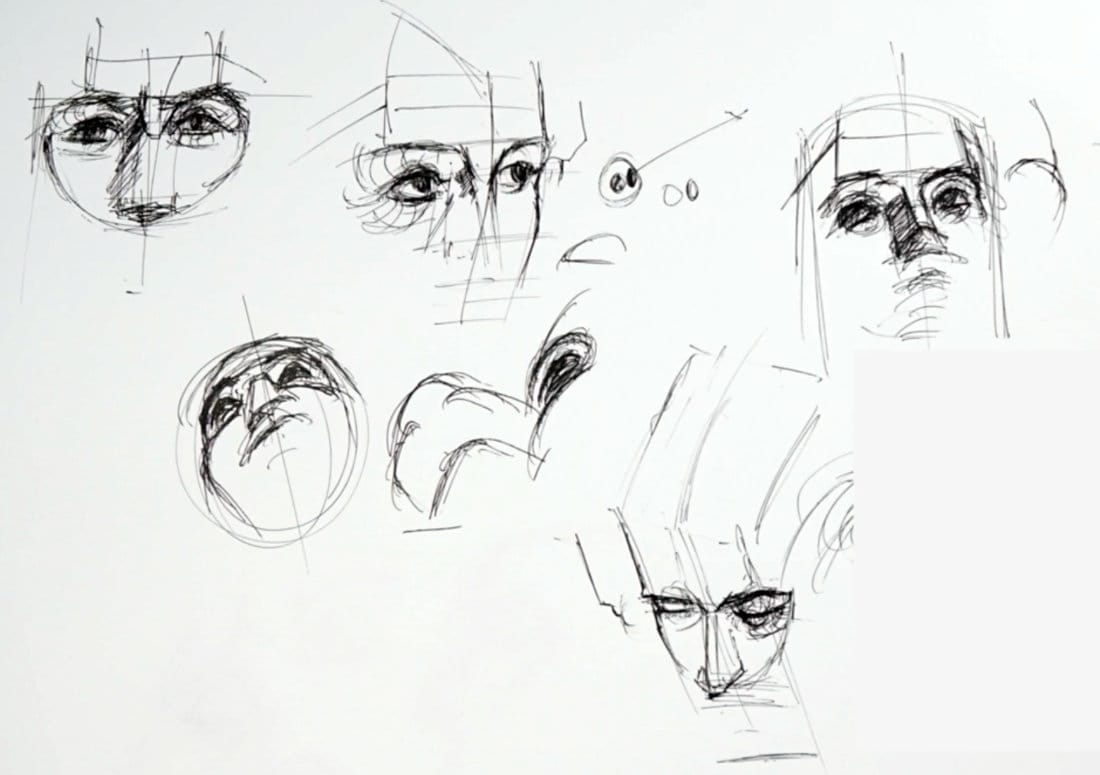
Underneath View – Emphasizing the Donut Structure
When drawing from below, everything shifts upward—the eyes, nose, and mouth compress slightly. I simplify the structure into a tube form, then position the eyes within that cylinder.
Here, the cheeks overlap the eyes, creating the illusion of depth and making sure the eyes feel set back rather than pasted on. The “protective donut” structure becomes especially important from this view—it defines how the brow and cheek wrap over the eyes.
Top View – Layering Planes and Overlaps
Looking from above, the brow ridge and forehead plane dominate the composition.
I step the forms downward: forehead, brow ridge, eyelids, eyeball, and cheek. The eyelashes and top planes help guide the curvature of the eyeball, which is now slightly foreshortened.
When you see this overlap, it’s clear that eyes are deeply inset within the structure—not floating between the forehead and nose.
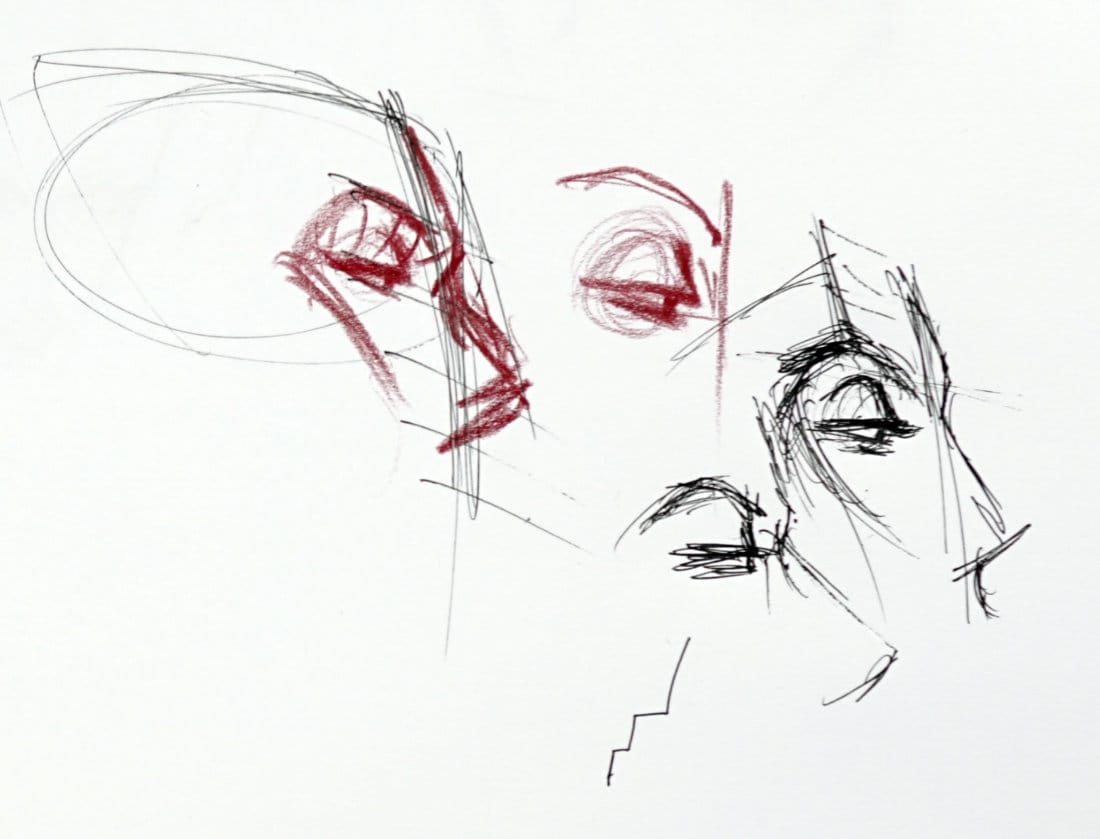
Profile View – Avoiding Crowded Construction
This angle can be tricky because it’s easy to crowd the eyelids too close to the brow.
I make sure to leave room for that recession between the eyebrow and the eye socket. The eyeball sits farther back than most people expect—it’s not flush with the surface.
Visualize a line dropping from the brow ridge down to the bottom lid, wrapping around the sphere. This keeps everything staged properly and gives the drawing a solid sense of depth.
Final Thoughts
When drawing from all these angles, think in layers: forehead → brow → eyelids → eyeball → cheek.
Those overlaps are what give structure and realism to your portraits.
If your eyes ever feel “stuck on,” it’s usually because they’re missing that sense of staging—the way one plane flows naturally into the next.
Course Navigation
Previous Lesson: Eye Drawing Assignment Practice
Next Lesson: Advanced Nose Structures - coming soon
View All Lessons: Head Drawing Hub
Learn & Improve Your Acrylic Skills
- Acrylic Hub– Your go-to guide for tutorials, tips, and resources.
- Ultimate Beginner Acrylic Course - Start painting with confidence.
- Subscribe for More Great Content - Get tutorials, tips, and updates straight to your inbox.
- Follow Me on Pinterest - Daily inspiration, tips, and fresh ideas.