Master’s Nose Study – Tonal Planes and Shading
Learn how the masters used tone, light, and foreshortening to describe the planes of the nose and create believable depth in portraits.


In this follow-up to Part 1, we’ll look deeper into tonal control and shading used by master artists to model the nose in various angles. You’ll see how they captured structure through subtle shifts in value rather than line, and how foreshortening plays a key role in the illusion of depth.
This lesson is part of the Head Drawing Course.
Understanding Planes Through Light
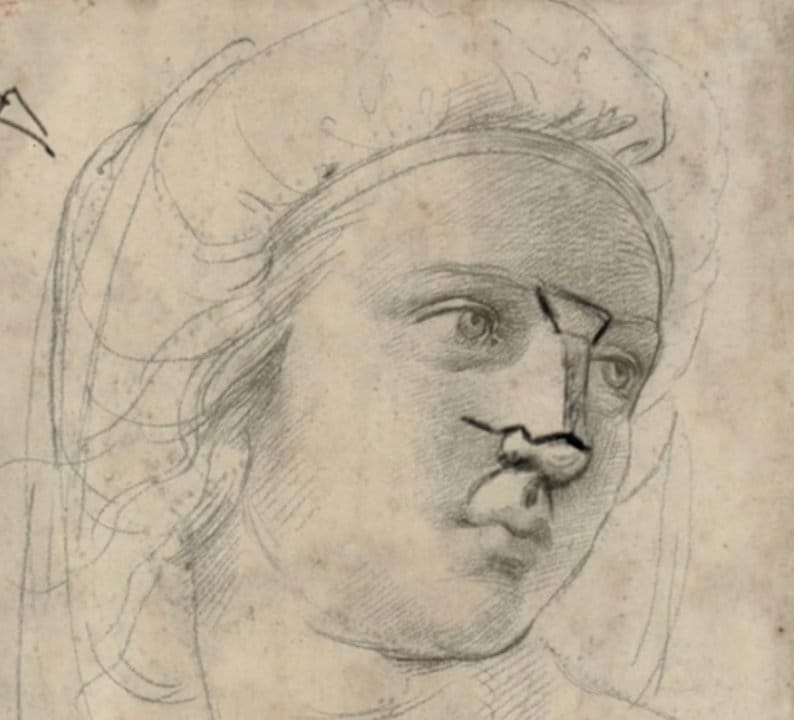
In the Raphael study, the light enters from above, casting a soft shadow on the front plane of the nose. The tip and underside remain in shadow while the bridge catches a faint highlight — a classic example of how plane direction defines value.
Notice how the ball of the nose overlaps the upper lip barrel, and the philtrum acts as a subtle transition. Even though the mouth belongs to a separate feature, its volume is part of the same rhythm of overlapping forms.
Tilt and Foreshortening
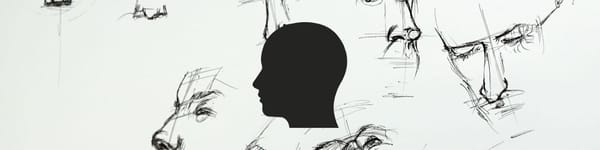
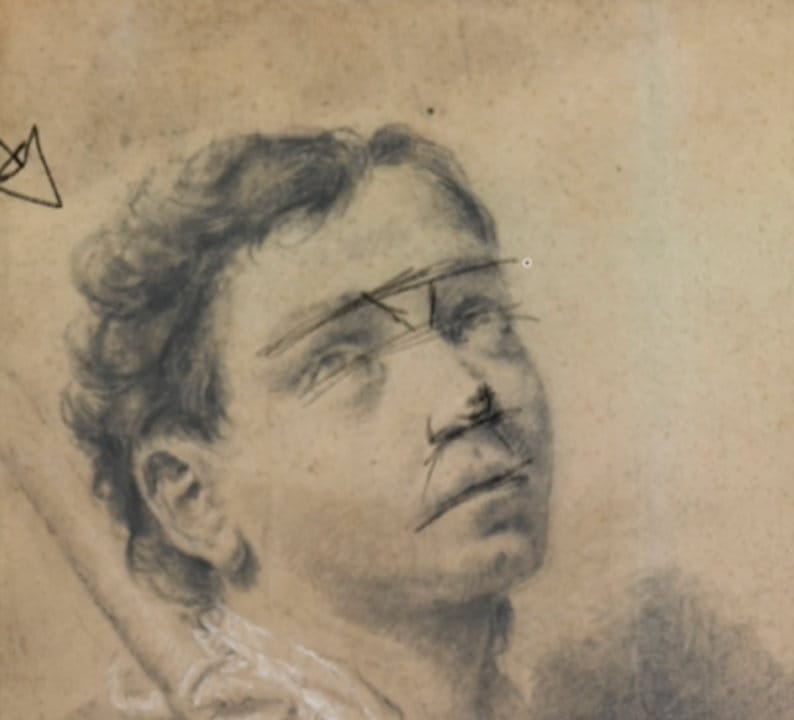
As the head tilts upward, the distance between the eyes and nose shortens, creating compression. The underside of the nose becomes more visible, and the nostrils shift upward in perspective. The masters achieved this effect not by exaggerating lines but by gently adjusting shadow placement and highlight width.
In these views, the nose appears slightly “pushed” into the face — foreshortening that makes the portrait feel dimensional and believable.
Norman Rockwell Example – Expressive Planes
The Rockwell example shows a more dramatic lighting setup. The light hits one side of the nose sharply, creating a core shadow that curves around the front plane and drops into the under-plane. The reflected light beneath the nostrils helps maintain roundness and structure.
Rockwell used the same structural logic as the old masters — the front, side, and under planes — but combined it with strong contrast to enhance character and storytelling.

Tracking the Head Angles
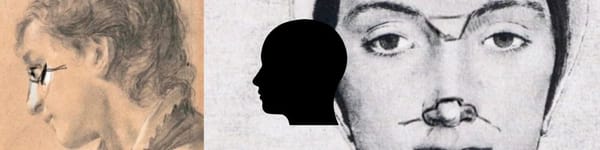
Throughout all the examples, notice how the nose aligns with the rhythm of the head’s tilt:
- When the head looks up, the ears drop and the underside plane is revealed.
- When the head looks down, the ears rise and the top of the nose is visible.
- In a three-quarter view, one wing of the nose overlaps the cheek, enhancing depth1286366-masters-analysis-nose-p….
These spatial relationships are essential for placing the nose correctly within the head.
Key Takeaways
- Use tone to reveal planes, not outlines.
- Observe how the nose connects rhythmically with the eyes, mouth, and forehead.
- Adjust highlight and shadow width to show head tilt and direction.
- Keep overlapping forms clear — they create believable structure.
Practice Challenge
Pick three reference heads — one looking up, one looking down, and one in profile — and lightly map the nose planes before shading. Use minimal lines, focusing only on light direction and tonal hierarchy.
Course Navigation
Previous Lesson: Master’s Nose Study – Planes, Light, and Layering
Next Lesson: Nose Assignment Reel – Applying Planes and Tone
Visit the Head Drawing Hub to view all lessons and modules.
Continue Learning
If you enjoyed this hand drawing course, explore even more lessons on our Free Drawing Tutorials & Courses Hub — including the complete How to Draw – Beginner’s Course.
Want new tutorials delivered to your inbox? Subscribe here and get free lessons, tips, and inspiration sent directly to you.