Master’s Eye Study – How to Draw Realistic Eyes
Study Raphael’s drawing to learn how to draw eyes that feel solid and dimensional. We’ll explore structure, perspective, and ellipses.

In this lesson, I’ll analyze a master drawing by Raphael to show how the eyes fit within the head’s structure. We’ll look at planes, direction, and the law of ellipses—a principle that explains how to keep eyes aligned and believable in perspective.
This lesson is part of the Head Drawing Course.
Understanding the Planes of the Head
The first thing Raphael nailed was the subtle change of planes across the face. The eyebrow rises and then sharply changes direction toward the temple, showing where the front plane of the skull transitions into the side.
When you follow that line, you can see how the forehead slopes back and the side plane begins—this is key to placing eyes correctly. If you ignore these transitions, the face will flatten out, especially in profile or three-quarter views.
Mapping Eye Structure
The upper eyelid connects naturally to the brow ridge, wrapping around the spherical eye socket. The cheek plane curves under it and moves back toward the ear. These overlaps are what give portraits that sense of depth and form.
Even though the subject is looking downward and slightly to the side, the rhythm of the planes still reads clearly—forehead, eye socket, cheek, and side of head all stepping back at consistent angles.
The Law of Ellipses
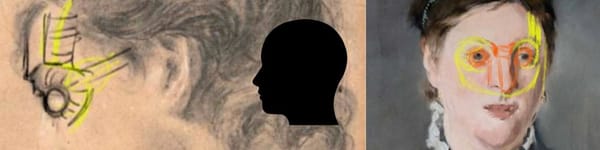
Raphael’s sketch is a great example of what I call the “law of ellipses.”
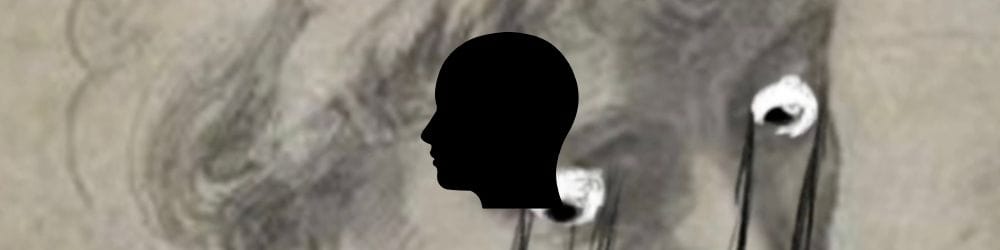
Imagine the eyes as tires on an axle—the pupils and irises must always stay perpendicular to that invisible axis line.
If the head turns, that axis tilts, and both irises adjust together. This keeps the eyes aligned naturally, preventing one from appearing cross-eyed or floating off the skull. Think of it as drawing cylinders that house the eyeballs—rotate the cylinder, and the eye rotation follows automatically.
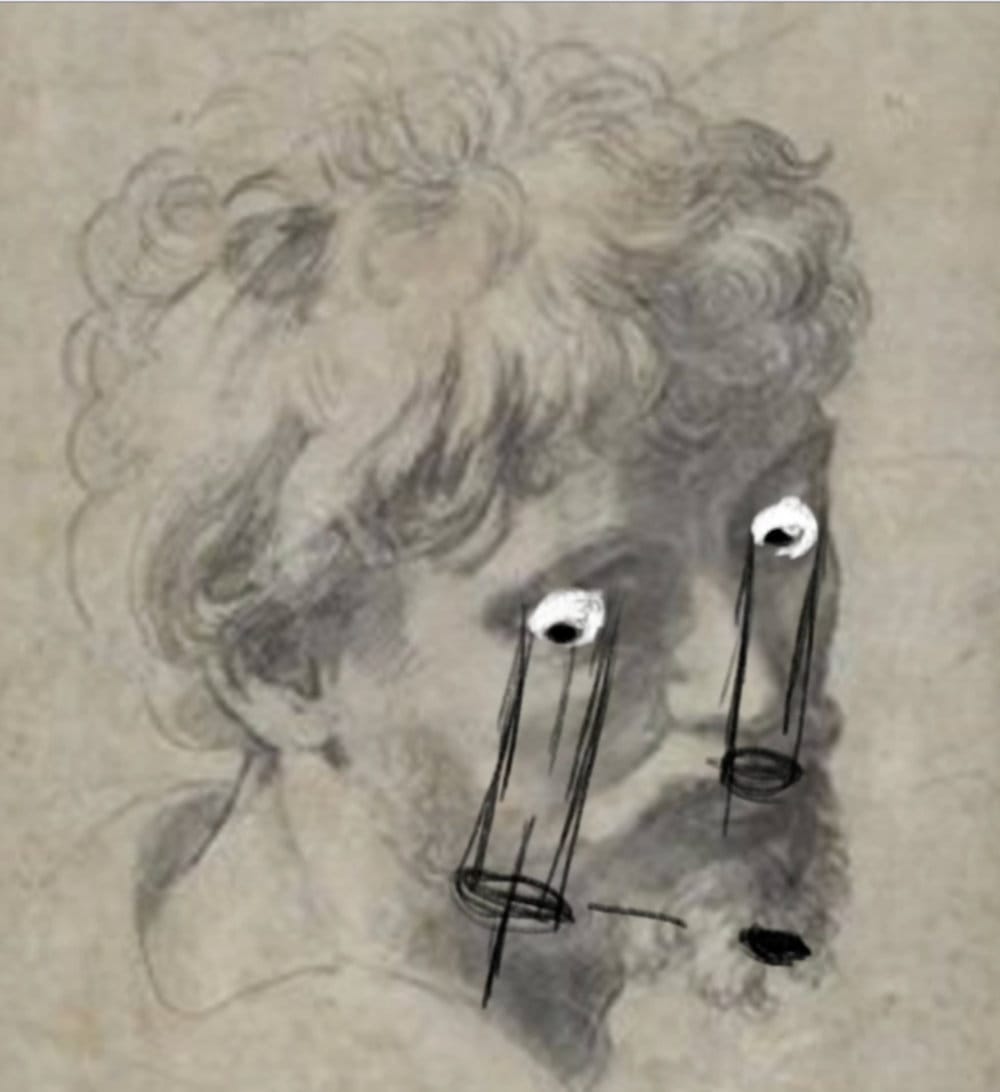
Eye Direction and Alignment
In Raphael’s study, the figure looks slightly downward and to one side. Notice how the irises tilt within the sockets, not just slide across them. The pupil’s orientation changes with the ellipse, meaning if the head turns, the ellipse turns too.
If you drew the irises flat instead of matching that curve, the gaze would look unnatural. Getting this right makes a huge difference when you’re painting or sketching portraits from imagination.
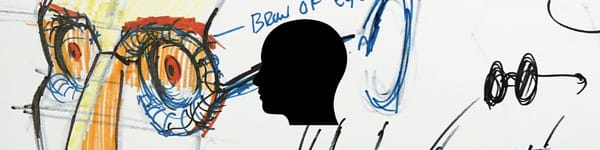
The Donut Concept Revisited
The “donut” around the eye—made up of the brow ridge and cheekbone—creates a soft protective ring around the eyeball. Raphael understood this instinctively, using subtle shading and overlapping lines to suggest that depth.
Try to imagine this donut shape wrapping over and under the eye each time you draw. It gives the illusion of mass, and that’s what separates master drawings from beginner sketches.
Practice Tips
- Use construction lines to map forehead, eye sockets, and cheeks before adding detail.
- Keep both eyes perpendicular to a shared “axle” line.
- Study how the brow ridge and cheekbone wrap around the eyeball.
- Use master drawings to observe real structure—not just outlines.
Course Navigation
Previous Lesson: Eye Placement & Perspective
Next Lesson: Master’s Analysis Part 2
Visit the Head Drawing Hub to view all lessons
Continue Learning
If you enjoyed this hand drawing course, explore even more lessons on our Free Drawing Tutorials & Courses Hub — including the complete How to Draw – Beginner’s Course.
Want new tutorials delivered to your inbox? Subscribe here and get free lessons, tips, and inspiration sent directly to you.