Loose Watercolor Landscape Tutorial
Negative space was the game-changer in my watercolor journey. This loose landscape tutorial shows how painting “around” shapes creates depth, design, and freedom.

I’ll be straight with you — in my early watercolor landscape painting days, I thought I could skip the grind. I wanted a masterpiece, right now!, on day one, but the truth is, I hadn’t put in the miles. I didn’t deserve quality art yet. Watercolor has a way of humbling you — those early washes of mine looked more like bad coffee stains than paintings.
I see a lot of beginners make the same mistake: too much pressure, chasing beauty before they’ve even built a foundation. You burn through paper, get frustrated, and wonder if you should just quit. I’ve been there. The turning point for me wasn’t some fancy brush or secret palette. It was learning to embrace negative space painting.
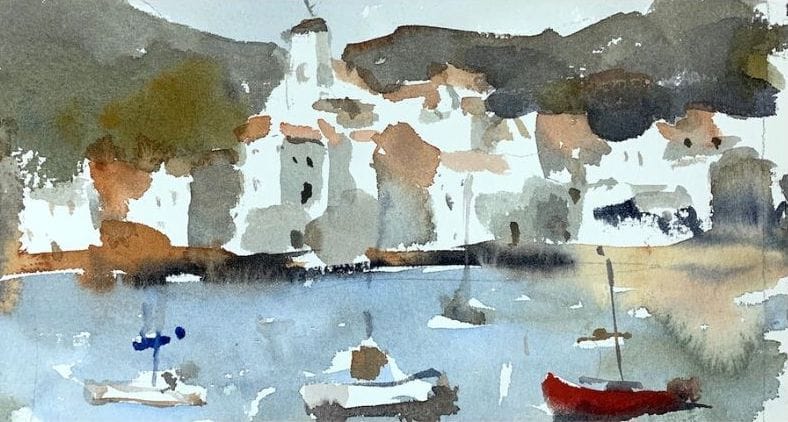
Negative space painting hit me at the right time. I’d already stumbled enough to be ready for it. And once I got it, everything shifted. You stop painting “things” and start painting around them. You see the world in edges and shadows, and suddenly watercolor doesn’t feel like a fight — it feels like freedom.
Recommended Watercolor Materials
-
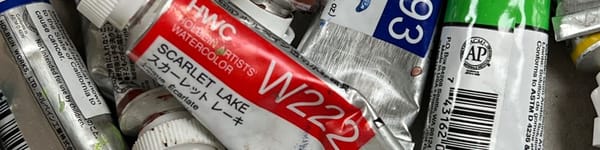
Holbein Professional Watercolor Paints – 8 Essential Hues
Yellow Ochre, Cadmium Lemon Yellow, Ultramarine Blue, Cerulean Blue, Alizarin Crimson, Cadmium Red Light, Neutral Tint, Burnt Sienna -
Fabriano Artistico Watercolor Paper – 140lb Cold Press
Buy full sheets and cut into quarter sheets for best value -
Silver Jumbo Wash Brush
Great coverage, excellent quality for the price -
Princeton Neptune Point Rounds (No. 12 & 6)
Reliable and affordable detail & wash brushes -
Princeton Neptune Dagger (1/2")
Versatile size for lines, edges, and detail work -
Masterson Aqua Pro Palette
Durable, with deep wells for generous mixing space -
Gator Board
Lightweight, long-lasting painting support board -
Holbein White Gouache
Optional for highlights and fine details - Miscellaneous: plastic water containers, paper towels, masking tape
This post contains affiliate links. If you make a purchase through these links, I may earn a commission at no extra cost to you.