Learn Various Ways to Hold a Watercolor Brush
Learn simple ways to hold a watercolor brush and how each grip affects looseness, control, and texture in your paintings.

How you hold your watercolor brush has a bigger impact on your painting than most people realize. It affects looseness, control, range of motion, and even how tense or relaxed your work feels. In this lesson, I walk through several simple ways to hold a watercolor brush and explain when and why each one works.
Understanding Basic Brush Holds
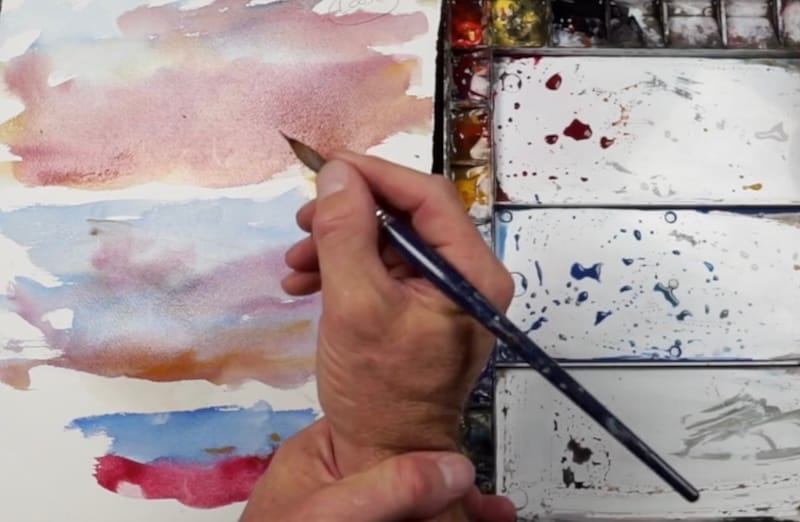
The most common grip is the tripod hold, similar to how you’d hold a pencil. This grip offers control and precision, especially for details. I use this often, but always with a relaxed hand. Squeezing the brush too tightly leads to stiff marks and unnecessary tension.
Another option is the overhand grip. I don’t use it all the time, but it’s useful for scumbling and textured effects where I want the paper surface to show through.
How Brush Position Affects Looseness
Where you hold the brush along the handle makes a huge difference. Holding it farther back creates looser, more expressive strokes with a wide range of motion. This is great for skies, large washes, and early stages of a painting.
Choking up closer to the ferrule gives you more control but limits movement. This can be helpful for shaping forms or adding structure, but it naturally tightens things up.
Matching Grip to the Stage of the Painting
I rarely paint an entire watercolor using just one grip. Early washes benefit from holding the brush farther back, while later stages often require a more controlled approach. Toward the end, I may switch to a tighter grip for small accents or pops of color.
The key is staying aware of tension. Watercolor isn’t meant to be controlled all the time. Letting the paint move and mix naturally often leads to better results.
Using Grip for Texture and Expression
The overhand grip works well for creating broken, textured strokes. By lightly dragging the brush across the paper, the texture of the surface catches the bristles and creates a painterly effect. This is especially useful for buildings, ground planes, and subtle surface detail.
Continue Learning
👉 Next stop: check out my Watercolor Tutorials Hub to keep building your skills.
👉 Follow me on Pinterest for daily watercolor inspiration!
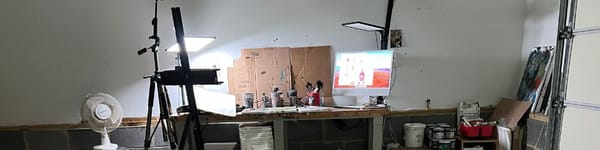
If you enjoy these kinds of raw insights and loose watercolor demos, you’ll feel right at home here. Subscribe to Crafted by Robert and follow along as I share painting inspiration, tips, and behind-the-scenes stories straight from my garage studio. 👉 Subscribe to Crafted by Robert
Materials You’ll Need
Here are the materials I use all the time and have for decades. I only buy from Blick Art but feel free to shop where you prefer.
Recommended Watercolor Materials
-
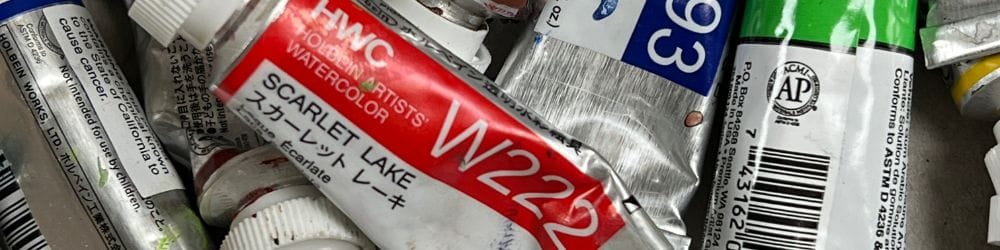
Holbein Professional Watercolor Paints – 8 Essential Hues
Yellow Ochre, Cadmium Lemon Yellow, Ultramarine Blue, Cerulean Blue, Alizarin Crimson, Cadmium Red Light, Neutral Tint, Burnt Sienna -
Fabriano Artistico Watercolor Paper – 140lb Cold Press
Buy full sheets and cut into quarter sheets for best value -
Silver Jumbo Wash Brush
Great coverage, excellent quality for the price -
Princeton Neptune Point Rounds (No. 12 & 6)
Reliable and affordable detail & wash brushes -
Princeton Neptune Dagger (1/2")
Versatile size for lines, edges, and detail work -
Masterson Aqua Pro Palette
Durable, with deep wells for generous mixing space -
Gator Board
Lightweight, long-lasting painting support board -
Holbein White Gouache
Optional for highlights and fine details - Miscellaneous: plastic water containers, paper towels, masking tape
This post contains affiliate links. If you make a purchase through these links, I may earn a commission at no extra cost to you.