How to Paint Trees for Beginners - Part 1
Easy beginner acrylic tree painting lesson — learn to simplify sky holes, manage light and shadow, and keep your brushwork loose.

Trees can be one of the hardest things to paint in a landscape, especially for beginners learning acrylics. You’ve got millions of leaves, hundreds of branches, and sky holes everywhere — it’s a lot to take in. In this easy tree painting tutorial,
I’ll show you how to paint trees with acrylics by simplifying all that chaos into clear, painterly shapes.
This lesson is part of the Acrylic Landscape Painting Fundamentals Course - learn to paint expressive landscapes from scratch.
Start with Simplification
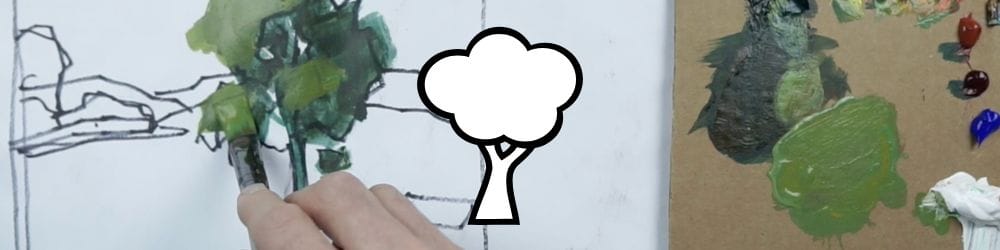
The biggest challenge when learning how to paint trees for beginners is knowing what to leave out. You don’t need every branch or leaf — instead, think about mass shapes and light direction.
In this demo, I sketch out an imaginary tree, keeping the design loose. I add just enough branches to show structure, then establish a ground plane so the tree feels anchored. My light source is coming from the top left, so I know where my shadows will fall.
Even at this stage, I’m already thinking about edges — where to keep them soft, where to define them, and how to create shape variety.
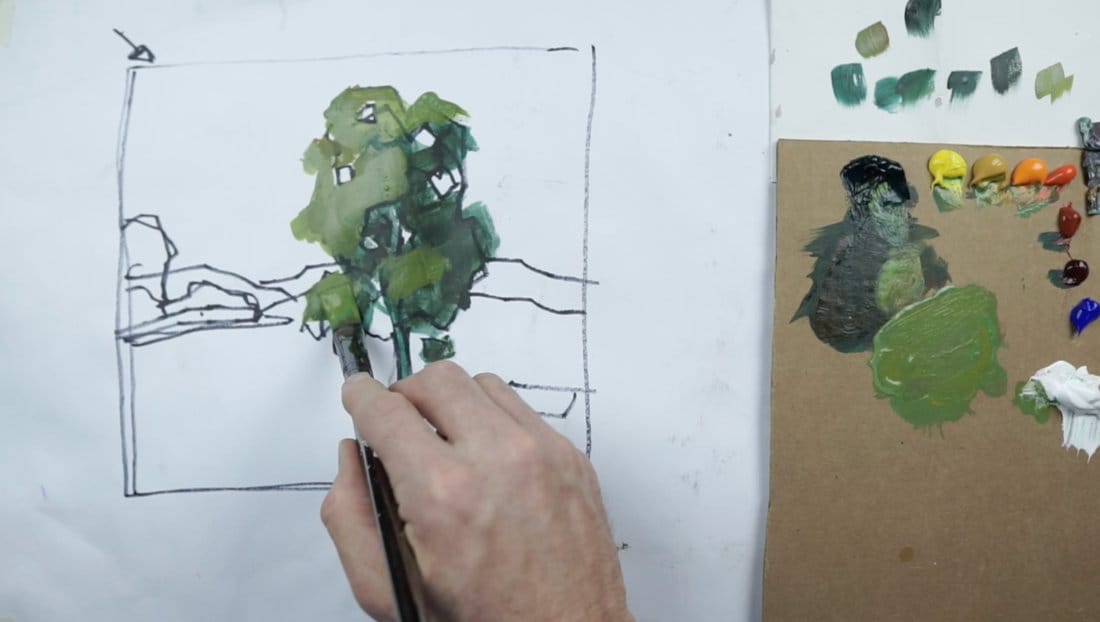
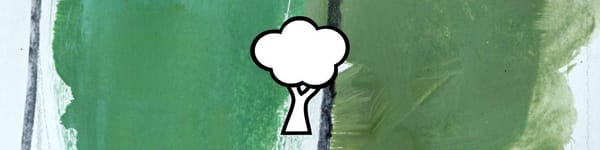
Laying Out the Palette
Here’s the color lineup I’m using for this part of the acrylic landscape course:
Viridian Green, Cadmium Yellow Light, Yellow Ochre, Cad Orange, Cad Red Light, Red Oxide, Alizarin Crimson, Cobalt Blue, and Titanium White.
This gives me a warm-cool balance so I can push the tree toward sunlight or shadow without getting muddy. See my full acrylic toolbox below!
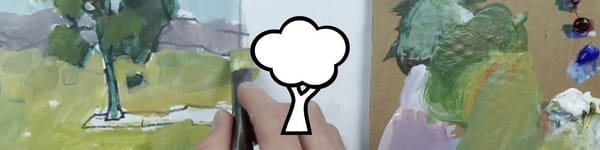
Block-In Stage
I start by blocking in the large shadow mass first. This is where many beginners struggle — they jump to details before organizing values. Keep your shadow plane unified, even if it feels a little flat at first. Later, you can break it up with subtle temperature shifts.
When you block in, simplify your sky holes. Instead of a hundred little cut-outs, pick a few key areas where the sky shines through. Too many sky holes make the tree feel lacy and unrealistic.
Shape and Edge Variety
Every tree species has its own shape character — oaks are heavier, birches are lighter, and pines are more vertical. In this lesson, I’m not copying a specific type; I’m focusing on how to design believable tree shapes.
Keep the edges interesting: mix hard and soft transitions, and use your brush direction to suggest leaf groupings. Remember, we’re painting the feel of the tree, not counting leaves.
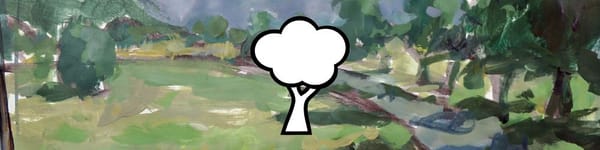
Light and Shadow
Once the dark mass is in, I start adding light. I mix a slightly warmer color for the lit areas — a touch of Cad Orange and Yellow Light over the green. The trick is to make a clean separation between light and shadow. Don’t let them mingle too much, or you’ll lose the structure.
At this point, the painting has a solid read — the tree stands out without looking pasted on.
Key Takeaways
- Simplify shapes — fewer sky holes, stronger design
- Keep light and shadow clearly separated
- Use edge variety to avoid stiff forms
- Capture the overall shape, not every leaf
- Remember, this is a block-in stage, not a finished painting
Next Lesson
Next Lesson: Easy Tree Painting for Beginners Part 2
Previous Lesson: Atmospheric Perspective Assignment
Landscape Course Hub: Acrylic Landscape Painting for Beginners
Learn & Improve Your Acrylic Skills
- Acrylic Hub– Your go-to guide for tutorials, tips, and resources.
- Ultimate Beginner Acrylic Course - Start painting with confidence.
- Subscribe for More Great Content - Get tutorials, tips, and updates straight to your inbox.
- Follow Me on Pinterest - Daily inspiration, tips, and fresh ideas.
Recommended Acrylic Painting Materials
-
Princeton Catalyst Brushes – Flats (#6, #12), Rounds (#4, #8), Fan (#4), Liner Brush
Durable synthetic bristles for versatile acrylic techniques -
Liquitex Heavy Body Acrylic Paint – Essential Colors
Cadmium Yellow, Yellow Ochre, Alizarin Crimson, Cadmium Red Light, Ultramarine Blue, Cobalt Blue, Burnt Sienna, Titanium White -
Winsor & Newton Cotton Canvas
Reliable stretched canvas for studio and plein air work -
Strathmore 400 Series Mixed Media Paper
Heavyweight, acid-free paper for acrylic and mixed media -
Fabriano Artistico 140lb Cold Press Paper
Excellent for acrylic, mixed media, and textured effects -
Blick Multi-Colored Painting Knife Set
Variety of shapes for texture, scraping, and bold strokes - Miscellaneous: Two pint-sized water containers, paper towels (from Home Depot or Walmart)
- Note: I use canvas or sturdy cardboard as my palette — no store-bought palettes needed.