How to Turn Box Shapes Into Realistic Clouds in Acrylic
Discover how to refine boxy cloud shapes into natural cumulus forms in acrylic landscapes using soft blending and atmospheric perspective.

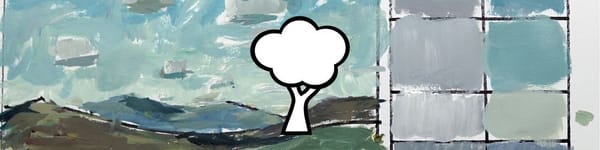
In this lesson, I’ll show how to refine the boxy shapes we used earlier and turn them into realistic cumulus clouds. The goal is to soften edges, adjust form, and create a sense of atmosphere while keeping a loose, painterly touch.
This lesson is part of the Acrylic Landscape Painting Fundamentals Course.
Shaping the Cloud Tops
Cumulus clouds tend to have flat bottoms and rounded tops, so I begin by softening the upper edges and letting them billow outward. These curved shapes catch light differently, so even small changes in the edge contour make the form feel alive.
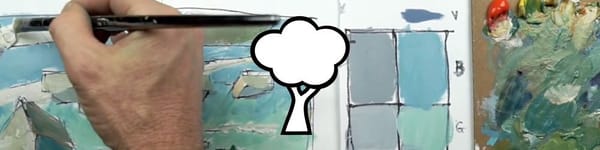
Use a clean, slightly damp brush to blend the paint upward. Don’t overmix—let some of the texture show. That variation in opacity gives the clouds their airy quality.
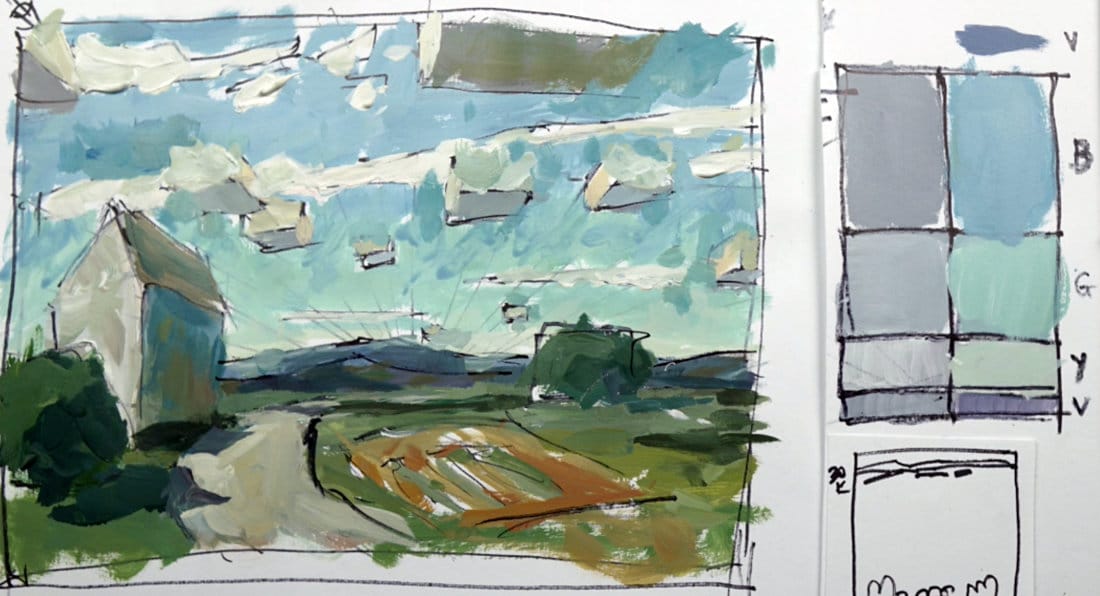
Blending and Gradation
Once the main shapes are set, I go back in to blend transitions between light and shadow. A soft brush and a touch of medium can smooth the tonal shifts, creating depth while keeping that painterly look.
At this stage, I’m also checking that the cloud bases stay level. Even though they’re irregular in shape, their undersides sit roughly at the same atmospheric height.
Refining the Sky Bands
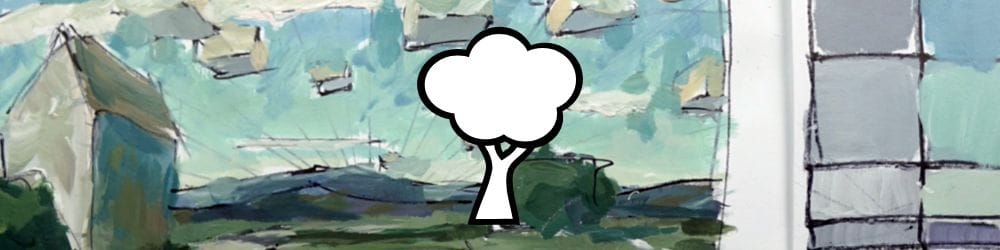
Behind the clouds, I reinforce the sky’s gradation—from a deeper blue at the top to a lighter, slightly warmer hue near the horizon. This subtle value shift increases depth and mimics real atmospheric perspective.
If the lower horizon feels too flat, mix a bit of your sky color into the distant mountains. That connection between land and air helps unify the entire composition.
Final Recap
Before wrapping up, I take a moment to evaluate the big picture. A few key reminders from this section:
- Skies often include color bands that shift gradually from warm to cool.
- Use linear perspective to guide cloud placement and depth.
- Keep values lighter and cooler as they recede.
- Think in terms of structure, not detail—capture the essence of the sky, not every tiny speck of cloud.
With these ideas in mind, you’ll be ready for the next stage—studying how master painters use these same concepts in their work.
Course Navigation
Next Lesson: Master’s Analysis – Studying Cloud Techniques
Previous Lesson: Adding Color and Shape to Clouds
Landscape Hub: View All Acrylic Landscape Lessons
Learn & Improve Your Acrylic Skills
- Acrylic Hub– Your go-to guide for tutorials, tips, and resources.
- Ultimate Beginner Acrylic Course - Start painting with confidence.
- Subscribe for More Great Content - Get tutorials, tips, and updates straight to your inbox.
- Follow Me on Pinterest - Daily inspiration, tips, and fresh ideas.
Recommended Acrylic Painting Materials
-
Princeton Catalyst Brushes – Flats (#6, #12), Rounds (#4, #8), Fan (#4), Liner Brush
Durable synthetic bristles for versatile acrylic techniques -
Liquitex Heavy Body Acrylic Paint – Essential Colors
Cadmium Yellow, Yellow Ochre, Alizarin Crimson, Cadmium Red Light, Ultramarine Blue, Cobalt Blue, Burnt Sienna, Titanium White -
Winsor & Newton Cotton Canvas
Reliable stretched canvas for studio and plein air work -
Strathmore 400 Series Mixed Media Paper
Heavyweight, acid-free paper for acrylic and mixed media -
Fabriano Artistico 140lb Cold Press Paper
Excellent for acrylic, mixed media, and textured effects -
Blick Multi-Colored Painting Knife Set
Variety of shapes for texture, scraping, and bold strokes - Miscellaneous: Two pint-sized water containers, paper towels (from Home Depot or Walmart)
- Note: I use canvas or sturdy cardboard as my palette — no store-bought palettes needed.