How to Paint Loose with Acrylics
Painting loose with acrylics is about expression, not perfection. This step-by-step guide shows you how to simplify, embrace mistakes, and paint with freedom.

When I first tried painting loose with acrylics, it felt impossible. My brain screamed: “Get it straight, match the colors, don’t mess it up!”
But here’s the truth: painting loosely in acrylics isn’t about perfection — it’s about expression. And sometimes, the best way to grow is to make a lot of “bad art” along the way.
In this tutorial, you’ll learn step-by-step how to paint loose with acrylics using a simple still life. We’ll block in color, play with value, and suggest form — all without tightening up.
Looking for more acrylic tips, free courses, and tutorials?
Check out the Acrylic Hub — your one-stop guide for everything from beginner basics to advanced techniques.
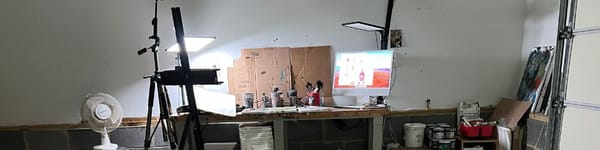
Watch video: Hit play and see how painting a simple object loosely is done. You can easily implement these ideas into your work, and to any subject. Start small!
Step 1 — How to Paint Loose with Acrylics: Block In the Base Colors
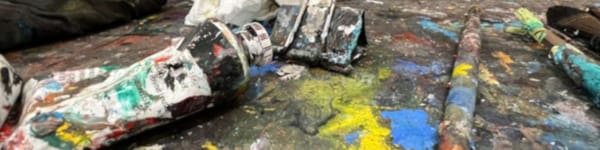
Start with a loose mix of sienna, ochre, and scarlet.
- Don’t over-mix — leave little pockets of color for variety.
- Apply with minimal strokes. Lay it down, then leave it alone.
- Think broad shapes, not fine details.
The goal: Suggest color and form without fussing over accuracy.
Step 2 — Adding Loose Shadows and Highlights in Acrylic Painting
- Use ochre for the light side of your subject.
- Mix sienna + ultramarine blue for shadows.
- Dab clean water for a transparent wash (a watercolor-like effect).
- Focus on values, not on copying the reference photo exactly.
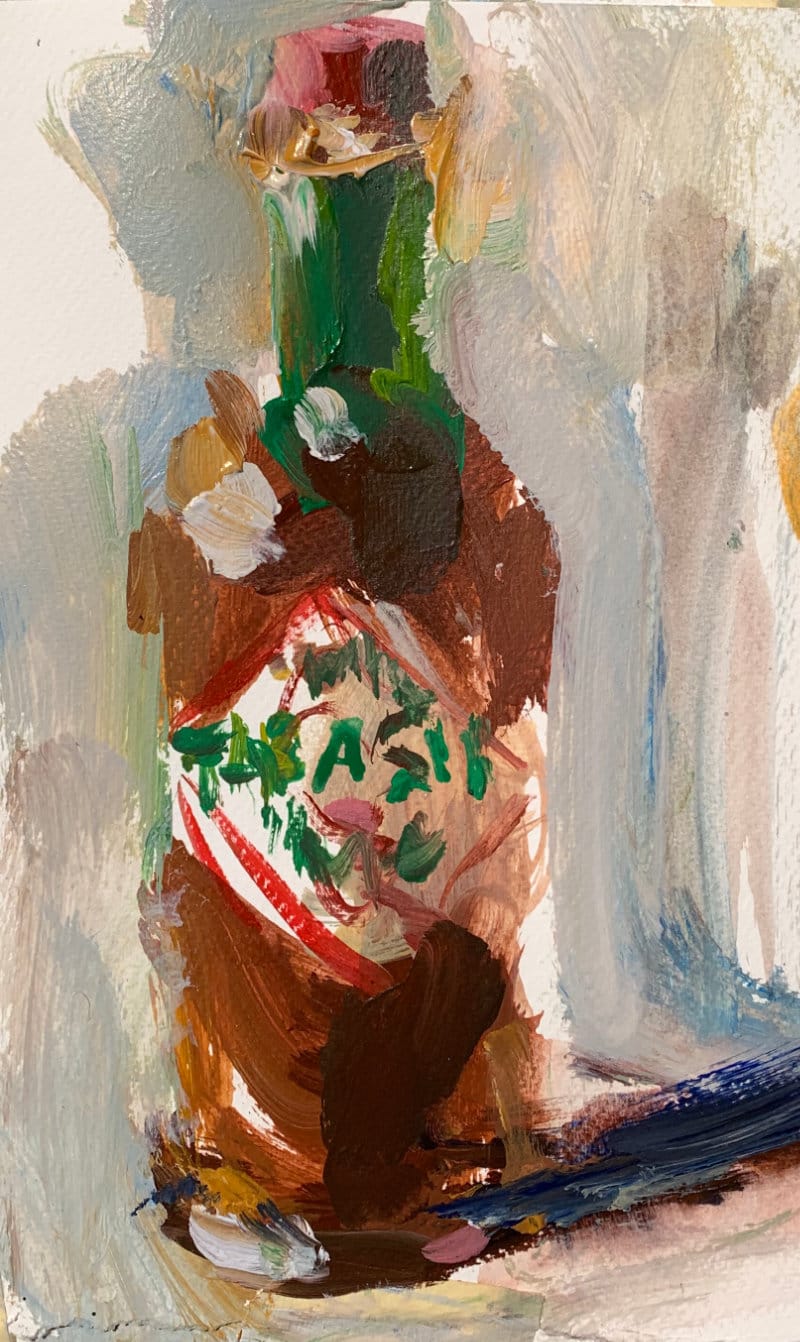
Step 3 — Loosen the Details (Labels and Lettering)
For something like a bottle label:
- Place one or two anchor letters (like the “A” in TABASCO).
- Loosely suggest the rest — the viewer’s brain fills in the blanks.
- Don’t aim for perfect spelling or spacing. Imperfections add character.
Step 4 — Finishing Touches for Loose Acrylic Painting
- Add pops of white and ochre to show highlights.
- Anchor the bottom with darker values.
- Drop in touches of green or red to balance the painting.
- Leave visible brushstrokes — don’t overwork the surface.
Why Painting Loose with Acrylics Works
Loose painting is about attitude, not accuracy.
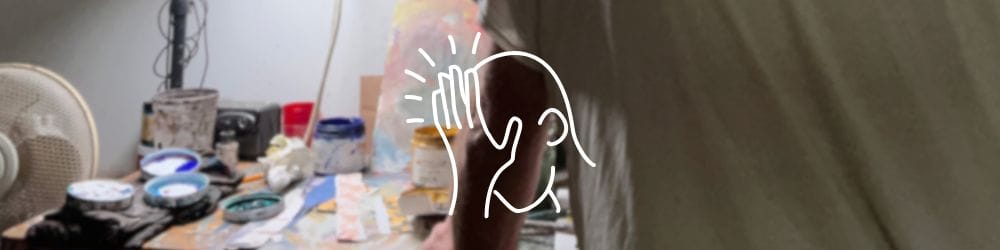
At first, your brain will fight back — it will want to “fix” crooked lines, patch gaps, or make the subject look “real.” But that urge to control is exactly what we’re trying to unlearn.
Here’s a trick: tape your painting on the wall. Walk past it for a week. Over time, you’ll start to see the beauty in its spontaneity. The loose marks, the crooked edges, the uneven highlights — they’ll grow on you.
That’s the essence of painting loose with acrylics: the magic hides in the imperfections.
FAQs About Painting Loose with Acrylics
Q: How do you paint loosely in acrylics?
Focus on big shapes, values, and expressive brushstrokes instead of fine details. Work quickly, don’t overmix colors, and let imperfections stay visible.
Q: What brushes are best for loose acrylic painting?
Round and fan brushes encourage expressive strokes, while a pointed brush helps you suggest details without over-controlling them.
Q: How do I stop overworking acrylic paint?
Limit your strokes, step back often, and remind yourself: “done is better than perfect.” Resist the urge to smooth everything out.
👉 Now it’s your turn: Try a quick loose acrylic study. Pick a simple subject, embrace the mess, and share your results. Remember — more bad art = more growth.
Learn & Improve Your Acrylic Skills
- Acrylic Hub– Your go-to guide for tutorials, tips, and resources.
- Subscribe for More Great Content - Get tutorials, tips, and updates straight to your inbox.
- Follow Me on Pinterest - Daily inspiration, tips, and fresh ideas.
Recommended Acrylic Painting Materials
-
Princeton Catalyst Brushes – Flats (#6, #12), Rounds (#4, #8), Fan (#4), Liner Brush
Durable synthetic bristles for versatile acrylic techniques -
Liquitex Heavy Body Acrylic Paint – Essential Colors
Cadmium Yellow, Yellow Ochre, Alizarin Crimson, Cadmium Red Light, Ultramarine Blue, Cobalt Blue, Burnt Sienna, Titanium White -
Winsor & Newton Cotton Canvas
Reliable stretched canvas for studio and plein air work -
Strathmore 400 Series Mixed Media Paper
Heavyweight, acid-free paper for acrylic and mixed media -
Fabriano Artistico 140lb Cold Press Paper
Excellent for acrylic, mixed media, and textured effects -
Blick Multi-Colored Painting Knife Set
Variety of shapes for texture, scraping, and bold strokes - Miscellaneous: Two pint-sized water containers, paper towels (from Home Depot or Walmart)
- Note: I use canvas or sturdy cardboard as my palette — no store-bought palettes needed.