How to Paint Loose Pine Trees With Watercolor
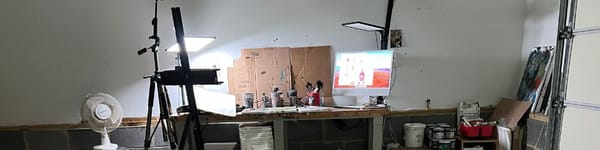
Just another garage style watercolor video sharing tips for painting loose pine trees. And as always, it's an ad-free video, enjoy!

If you’ve ever struggled with watery blobs or stiff, overworked trees, this quick watercolor demo will help you loosen up and get believable shapes. In this lesson, I walk you through how I paint expressive pine trees using simple wet-into-wet washes, negative painting, and a few dry-brush details to pull everything together.
This lesson is part of the full Watercolor Landscape Course.
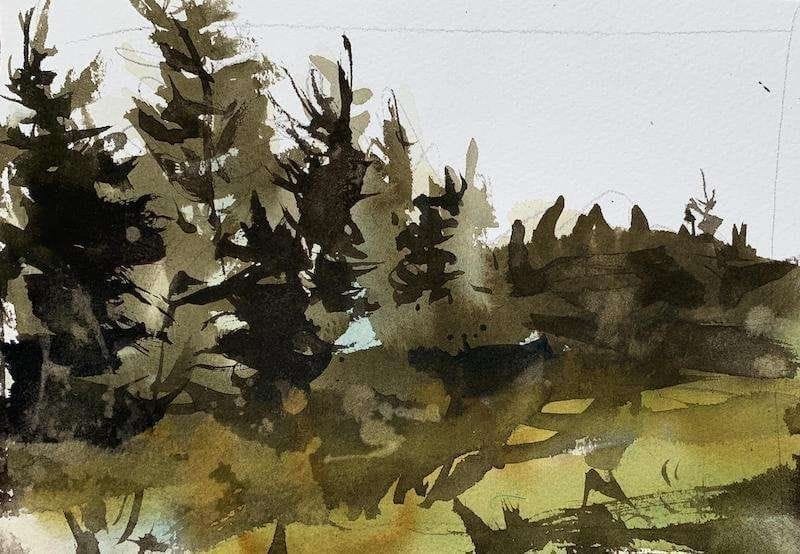
I start by wetting only the tree shapes so the first wash stays soft but controlled. That gives the background trees that misty, atmospheric look without losing their silhouette. Once the base layer hits about 80% dry, I switch to thicker paint and begin carving out the darker tree shapes. This is where the painting starts to come alive — crisp tops, broken edges, and deep shadows.
Then I move into negative space painting to sculpt trunks, branches, and foreground shapes. It’s an easy way to get depth fast. A little splattering and lifting at the end adds texture you just can’t get by brushing.
This is a simple study, but it’s packed with techniques you can use in any landscape: wet-into-wet blending, dry-brush edges, layering, and knowing when to let watercolor do the heavy lifting.
Continue Learning
👉 Next stop: check out the Watercolor Tutorials Hub to keep building your skills.
👉 Follow me on Pinterest for daily watercolor inspiration!
If you enjoy these kinds of raw insights and loose watercolor demos, you’ll feel right at home here. Subscribe to Crafted by Robert and follow along as I share painting inspiration, tips, and behind-the-scenes stories straight from my garage studio. 👉 Subscribe to Crafted by Robert