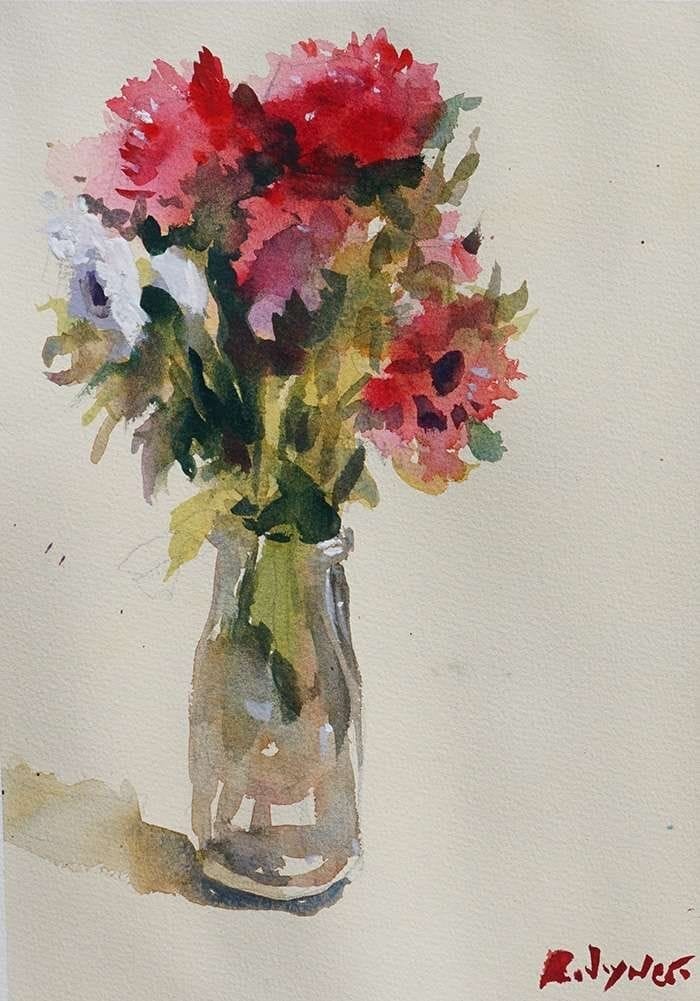
How to Paint Flowers with Watercolors
In this watercolor flower tutorial, I will guide you through the process of creating beautiful flowers. Suited for beginner and advanced artists.
Join me in this watercolor flower tutorial where I will guide you through the process of creating beautiful floral artwork. Whether you’re a beginner or have some experience with watercolors, this tutorial is perfect for you. Get ready to unleash your creativity and let’s begin!
Step-by-Step Guide: How to Paint Watercolor Flowers
To start, I found an inspiring image on Pixabay.com, one of my go-to sources for watercolor painting references. The image features a charming mix of carnation varieties arranged in a glass vase, making it an ideal subject for this tutorial. If you’d like to paint along with me, I’ve provided a template and a reference image of the finished artwork below. The template will help you easily transfer the design to your paper, ensuring a seamless painting experience.
Gather the Perfect Watercolor Materials for Your Flower Tutorial
To ensure a smooth painting experience, it’s important to have the right materials at hand. Here are the exact materials used in this tutorial, providing you with clarity and guidance throughout the process.
Paints: For this demonstration, I highly recommend Holbein paints. With over 20 years of experience using them, I can attest to their exceptional quality and consistent performance. The following colors were used:
- Cadmium red light
- Alizarin crimson
- Cerulean blue
- Ultramarine blue
- Yellow ochre
- Cadmium yellow lemon
- Neutral tint
- Burnt sienna
Brushes: The brushes used in this tutorial include the Princeton Neptune dagger and the Princeton Neptune #8 quill. If you’re interested in learning more about my preferred watercolor brushes, you can refer to this article. The Neptune dagger brush, in particular, produces amazing results, although it can be a bit unpredictable at times.
Paper: To achieve the desired results, I used Fabriano Artistico paper with a weight of 140 lb cold press. The dimensions of the paper are 15″ x 11″, which should provide an ideal surface for your painting.
With these materials in hand, you’ll be well-equipped to dive into the step-by-step breakdown of this delightful watercolor flower tutorial. Let’s continue our creative journey and explore the artistic possibilities together!
Follow the video demonstration:
To provide you with a comprehensive learning experience, I’ve included a video demonstration where I walk you through each step of the process. You can watch the video and follow along, pausing whenever necessary to catch up with the instructions. Feel free to take your time and enjoy the process!
Create Your Masterpiece
With the guidance of the step-by-step instructions and the video demonstration, it’s time to unleash your creativity and bring the watercolor flowers to life. Don’t be afraid to add your personal touch and experiment with different techniques. Remember, every artwork is unique and reflects the artist’s individual style.
Finished Artwork and Resources
Once you’ve completed your watercolor flower painting, you can compare it to the reference image of the finished artwork provided below. This will allow you to appreciate your progress and gain insights into different approaches to the same subject.
Let’s embark on this exciting journey of creating stunning watercolor floral art together. Grab your materials, watch the video, and let your creativity bloom!