How to Draw the Nose in Different Angles
Discover how to draw the nose in different angles with clear planes and perspective guides for top, side, and bottom views.

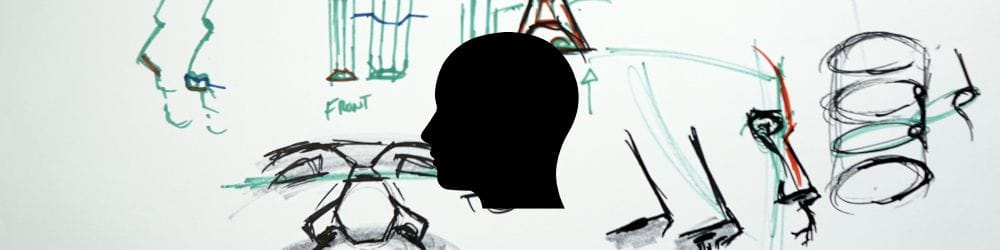
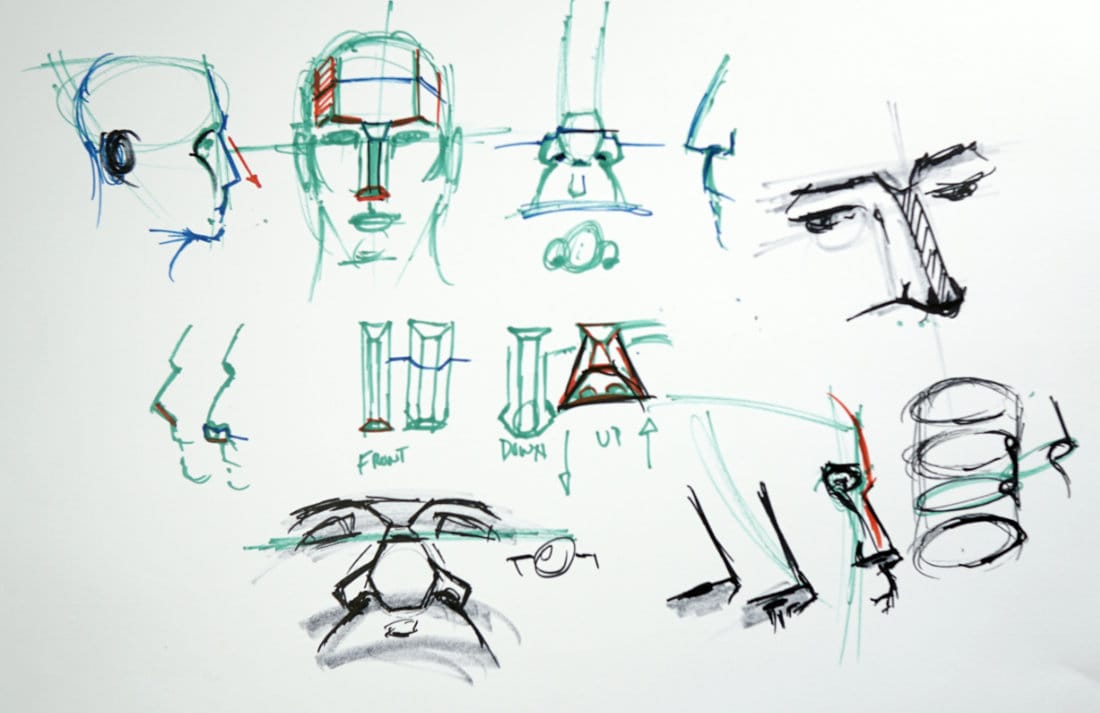
In this lesson, I’ll show you how to draw the nose in different angles — from above, below, and the side — so it feels like a solid structure sitting on the head. We’ll expand on the basics from Part 1, using planes, cross-contours, and the mask of the face to keep the nose consistent in every view.
This lesson is part of the Head Drawing Course.
Top View – Shortening and Overlap
When the head tilts downward, the nose shortens in perspective. The tip moves closer to the eyes, and the bridge overlaps the nostrils. I start with a centerline that follows the head’s curve, then block the nose as a wedge that projects off the forehead. The upper plane catches light while the lower one fades toward shadow.
Side View – Flow and Connection
From profile, I trace the mask of the face to connect the brow ridge into the nose and down toward the mouth barrel. This shows how the nose overlaps the lips and sits forward of the cheek plane. Keeping that rhythm from forehead → brow → nose → mouth helps the whole head read as one continuous form.
Underneath View – The Wedge and Whistle Notch
Looking up at the head reveals the under-plane of the nose — a flat base between the wings of the nostrils. That center groove, the whistle notch, separates the two openings and gives structure to the underside. I think of this view as a wedge with two small ellipses cut inside, tapering backward toward the cheeks.
Extreme Angles – Foreshortening and Ellipses
At steep angles, both nostrils turn into ellipses, and the wings flare out like fins. The tip and bridge follow the same curve as the head’s perspective line. As long as your ellipses stay aligned to that curve, the nose will feel three-dimensional no matter how the head rotates.
Practice Tips
- Start with a centerline that wraps around the head.
- Simplify the nose as a wedge before adding nostrils or wings.
- Use cross-contours to show tilt and curvature.
- Practice top-down and bottom-up views to strengthen spatial awareness.
Course Navigation
Previous Lesson: How to Draw a Nose – Structure & Perspective
Next Lesson: Master’s Nose Study – Planes and Light
Visit the Head Drawing Hub to view all lessons and modules
Continue Learning
If you enjoyed this hand drawing course, explore even more lessons on our Free Drawing Tutorials & Courses Hub — including the complete How to Draw – Beginner’s Course.
Want new tutorials delivered to your inbox? Subscribe here and get free lessons, tips, and inspiration sent directly to you.