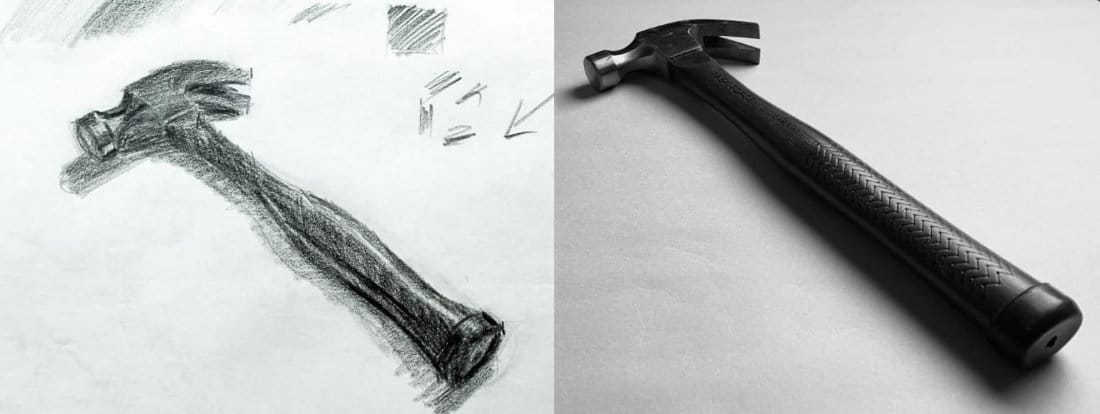
How to Draw a Hammer | Beginner Drawing Lesson with Forms & Shading
Learn how to draw a hammer step by step in this beginner-friendly lesson. Break it into simple forms, then add shading for a realistic sketch.

In this beginner drawing project, you’ll learn how to draw a hammer step by step. We’ll start by breaking it into basic 2D and 3D shapes, use perspective to get proportions right, and finish with shading to make it look solid and realistic. This exercise builds directly on the fundamentals from the Free Beginner Drawing Course.
Reminder: any drawing journey worth doing comes with setbacks and challenges. Be patient if you don’t “nail it” the first time. Take a break, then come back with fresh eyes. Just like hammers build homes one nail at a time, this beginner drawing project will build your drawing skills step by step.
Watch video: grab your pencil and paper and draw along with me.
Step 1 – Start with Perspective & Axis Lines
A hammer looks complicated at first, but it’s just forms in perspective. Begin by sketching an axis line (eye line) and then project perspective lines outward. Think of the hammer as fitting inside simple boxes that taper and flare slightly.
👉 Benefit: Thinking in perspective keeps proportions correct and trains your eye to see 3D space.
Step 2 – Block In the Handle
Measure the overall length using your pencil as a guide. The handle can be drawn as a long rectangle or tube, tapering slightly toward the grip. Split it with a center line to help align details later.
👉 Benefit: Breaking long shapes into simple forms prevents distortion and gives you a reliable framework.
Step 3 – Add the Hammer Head
Construct the hammer head as a rectangular box sitting on top of the handle. Add ellipses to show round surfaces and flare the sides outward where needed. Use perspective lines to keep it aligned.
👉 Benefit: Learning to build complex parts (like a hammer head) from boxes and ovals makes drawing any tool or object easier.
Step 4 – Build the Claw
The claw can be treated as a curved box that tapers as it comes down. Use a center line and perspective to curve it convincingly, then refine into the split claw shape.
👉 Benefit: Tackling curves as modified boxes teaches you how to simplify tricky organic parts.
Step 5 – Refine the Form
Go back over the sketch with a darker pencil or marker to firm up edges. Add subtle tapers and flares: the handle narrows, then widens, then narrows again. This gives the hammer a natural, functional feel.
👉 Benefit: Refinement develops confidence and trains you to see subtle changes in form.

Step 6 – Shading the Hammer
Identify the darkest darks (inside the claw, under the head) and the lightest lights (reflections on the metal). Shade using loose strokes that follow the hammer’s shape. Keep cast shadows slightly lighter than the object itself.
- Use gradation for the wooden handle.
- Add highlights to the metal head for shine.
- Suggest bounce light to show realism.
👉 Benefit: Shading adds depth and realism, turning simple boxes into convincing objects.
Why This Hammer Project Matters
This exercise takes you from basic forms to a more complex object. By completing it, you’ll:
- Practice perspective lines and vanishing points
- Refine accuracy with measuring
- Tackle both straight and curved forms
- Gain shading practice on metal and wood surfaces
✅ Next Steps
Keep building your beginner drawing skills with these related lessons:
👉 How to Draw a Coffee Cup →
👉 How to Draw a Tube of Paint →
👉 Or return to the Free Beginner Drawing Course


