How to Draw Eyes Step by Step – Eye Drawing Basics Lesson
Learn how to draw eyes step by step using simple shapes. We’ll cover the eyeball, iris, pupil, and eyelid movement for realistic drawings.


In this lesson I break down how to draw eyes step by step using simple forms and clear structure. We’ll look at how the eyeball, iris, and eyelids work together so you can draw eyes that actually feel alive. If you’ve ever wondered how do you draw an eye that looks real, this is where it starts.
This lesson is part of the Head Drawing Course.
Understanding the Eyeball
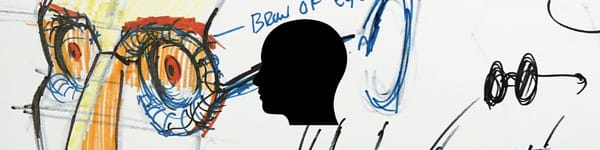
I always start with a circle—the core shape of the eyeball. Inside it, I add the iris and pupil. The pupil changes size with light and usually has a small highlight that shows moisture on the eye’s surface.
That little reflection makes it feel alive and helps avoid a stiff, flat look that beginners often get. If you’ve ever googled how to draw a realistic eye, this detail is a big part of it.
How the Eye Fits the Head
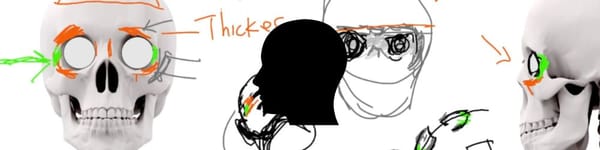
The eyeball sits deep in the eye socket—part of the skull’s structure. If you understand how the front and side planes of the head intersect around the socket, your eyes will look naturally placed instead of floating.
That’s why I often say learning how to draw a good eye starts with studying the skull.
Movement and Shape Changes
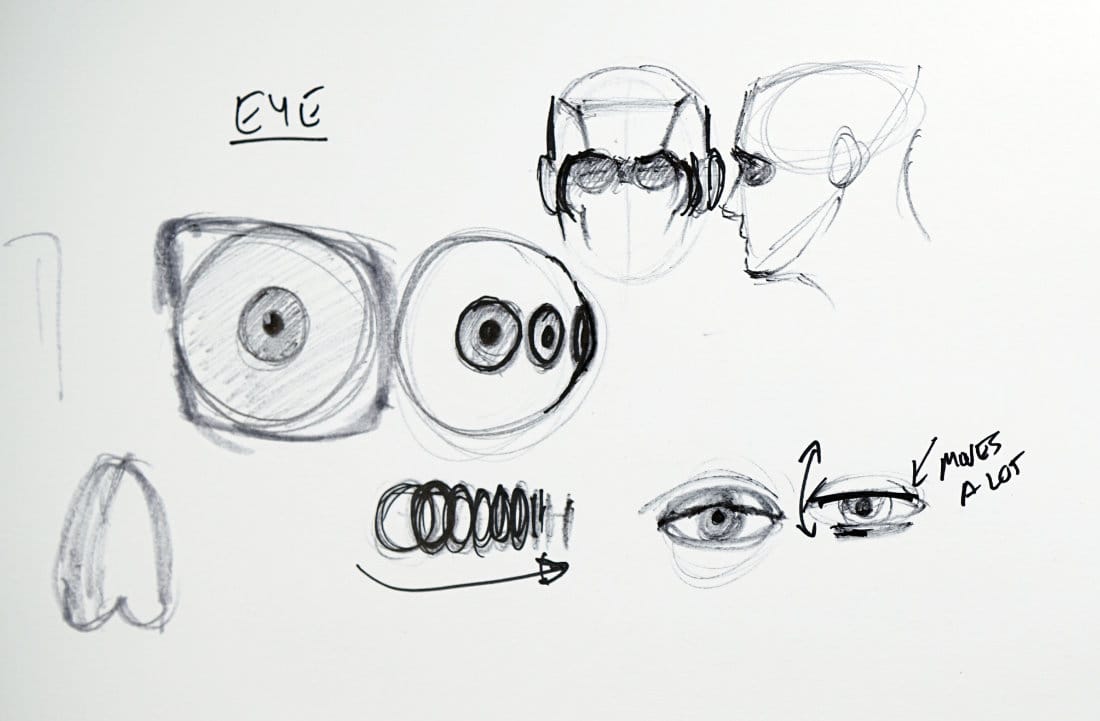
As the eyeball rotates, the round iris turns into a sliver or oval. When the head tilts up or down, the shape of the eyelids and iris changes too. Think of it as drawing a sphere that’s constantly in motion.
That’s what makes eyes so expressive. If you’ve searched how do you draw an eye step by step, focus on tracking that rotation.
Eyelids and the Cornea
The cornea is a small bulge on the eyeball that acts like a built-in contact lens. The upper eyelid wraps over that form and moves a lot more than the lower one. When the lid slides over that curve, you get that natural roundness instead of a flat “cut-out” look. Getting that curve right is key if you want to draw eyes that feel real.
Practice Tips
Keep it loose and build with simple forms first—circles, ovals, and planes. Practice drawing eyes from different angles: front, ¾, and side. Don’t rush details until you’ve nailed the underlying structure of the eyeball and eyelids.
Course Navigation
Previous Lesson: Student Critiques - Box Head Construction
Next Lesson: Eye Socket with Skeleton
Visit the Head Drawing Hub to view all lessons
Continue Learning
If you enjoyed this hand drawing course, explore even more lessons on our Free Drawing Tutorials & Courses Hub — including the complete How to Draw – Beginner’s Course.
Want new tutorials delivered to your inbox? Subscribe here and get free lessons, tips, and inspiration sent directly to you.