Guide to Collaging the Garage Artist Way
A no-rules guide to collaging: make your own papers, rescue “failed” sketches, and build expressive mixed-media layers with techniques that actually work.

Scrap materials you already have. Techniques you won't find in art school. Results that look like they came from a real artist's studio—because they did.
How I discovered that the best collage papers aren't sold in stores, they're made at the end of painting sessions when you're too tired to care about being perfect.
I've always been too cheap to throw away perfectly good paper—even when the art on it sucked. So my rejects lived in 500-pound filing cabinets that collected more cobwebs than an abandoned house. Watercolor disasters, acrylic failures, sketches from teaching sessions, random doodles—all stashed away because "the paper is still good."
One day I finally dug through those piles and realized what I'd been calling shameful discards was actually a goldmine. These weren't just failures—they were flawed paintings with potential. I grabbed a handful of favorites plus a stack of old drawings and shuffled to my pathetic art table in the corner of the garage.
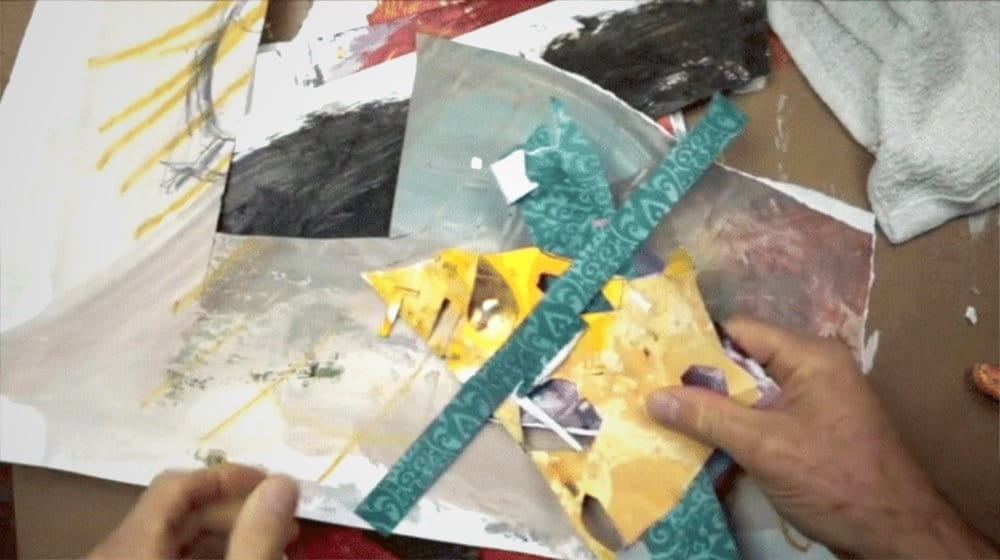
That's when it happened. I started tearing paper into strips and placing them over the rejects. Everything clicked. The combination transformed both the failed paintings and my entire approach to art.
At that moment I knew my art would never be the same. I wasn't just a painter anymore—I was a collage artist. And the rest is history.
Watch: The video shows the handmade papers and unique collage techniques in action, oh and sorry I didn't get a clip op the 5oolb. drawers, next time, I promise.
Method 1: Making Authentic Handmade Papers
This is where real collaging starts—not with store-bought decorative papers, but with materials that carry your artistic DNA.
The end-of-session ritual:
- Keep papers nearby while you paint—old sketches, failed attempts, practice sheets
- Use them as paint cleanup instead of constantly rinsing brushes (keeps your water cleaner too)
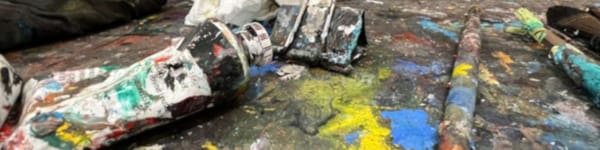
- Scrape leftover palette paint across the surfaces when you're done—no waste, pure texture
- Add spontaneous marks with crayons, graphite, whatever's handy
- Stack and store for your next collage session
Why this works: These papers have authentic paint buildup, real brush marks, and the kind of weathered quality you can't manufacture. Plus you're recycling instead of trashing your practice work.
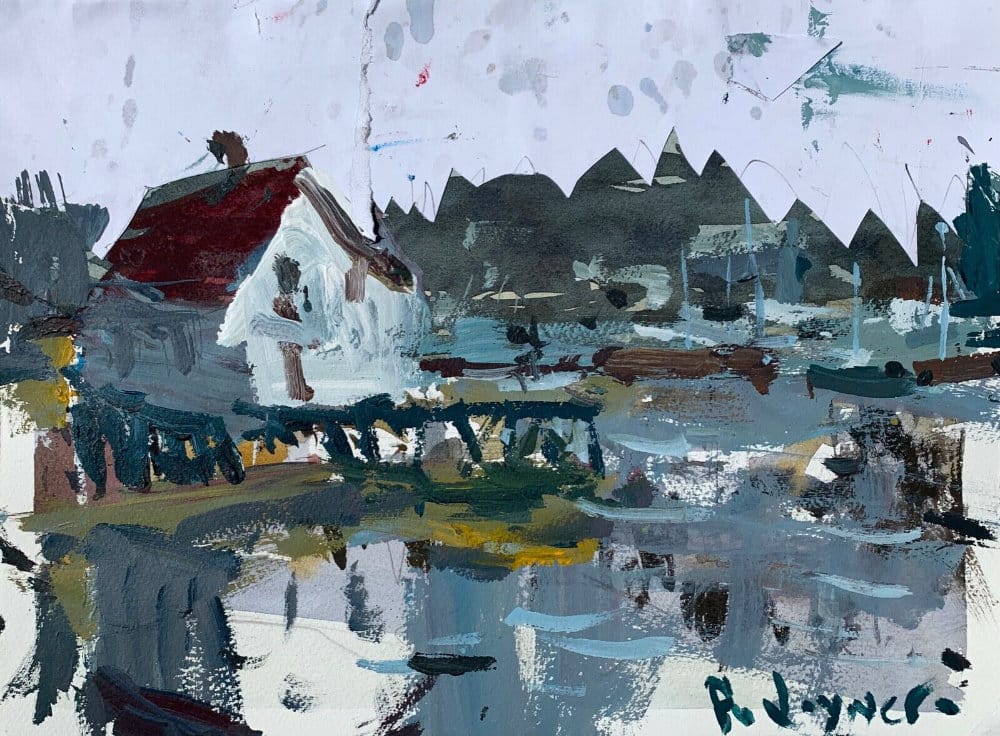
Method 2: Collage Borders - Flip the Script
Most artists put collage inside their paintings. I put it around the edges—turning the frame into part of the composition.
The approach:
- Paint your main subject in the center, or my personal favorite, find a reject and add the border to bring it back to life.
- Build collage elements around the outer edges with mashups using store bought paper, newspaper and some authentic handmade collage paper.
- Let border elements have irregular spaces and naturally torn edges
- Take scissors and cut zig-zags, angles or whatever, this works too.
Why borders work: Instead of fighting to integrate collage into painted areas, you're creating a natural transition zone. The eye reads it as sophisticated design, not amateur mixed media.
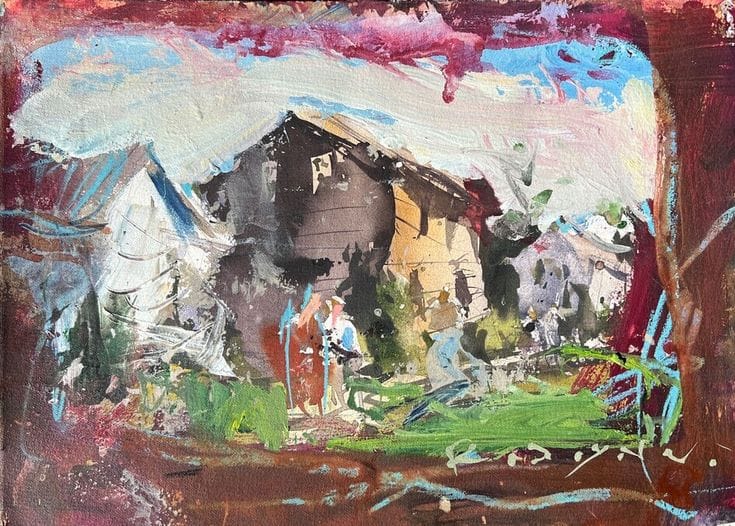
Method 3: Recycling Failures - From Flops to Fresh Starts
Nothing gets wasted in the garage studio. Every painting disaster becomes raw material for something better.
The rescue process:
- Assess what's working - ignore the "bad" drawing, find interesting textures or marks
- Add new layers with collage and fresh paint
- Build over problem areas without trying to fix the original
- Embrace the history - let previous layers show through
The mindset shift: You're not fixing a failure, you're using it as an underpainting. This removes the pressure and lets you take bigger risks.
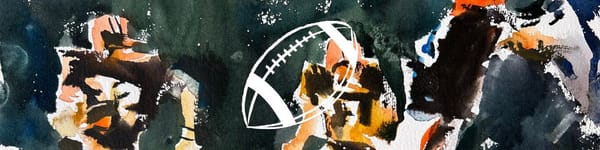
Method 4: Bold Patterns Over Rejects
This is pure experimentation—taking paintings that didn't work and adding pattern overlays that transform them completely.
The technique:
- Start with a reject painting
- Add collage elements in bold, repeated patterns
- Don't worry about matching the original subject
- Let the pattern create new visual rhythms
What happens: The pattern overlay unifies disparate elements and creates a contemporary, layered look that feels intentional rather than rescued.
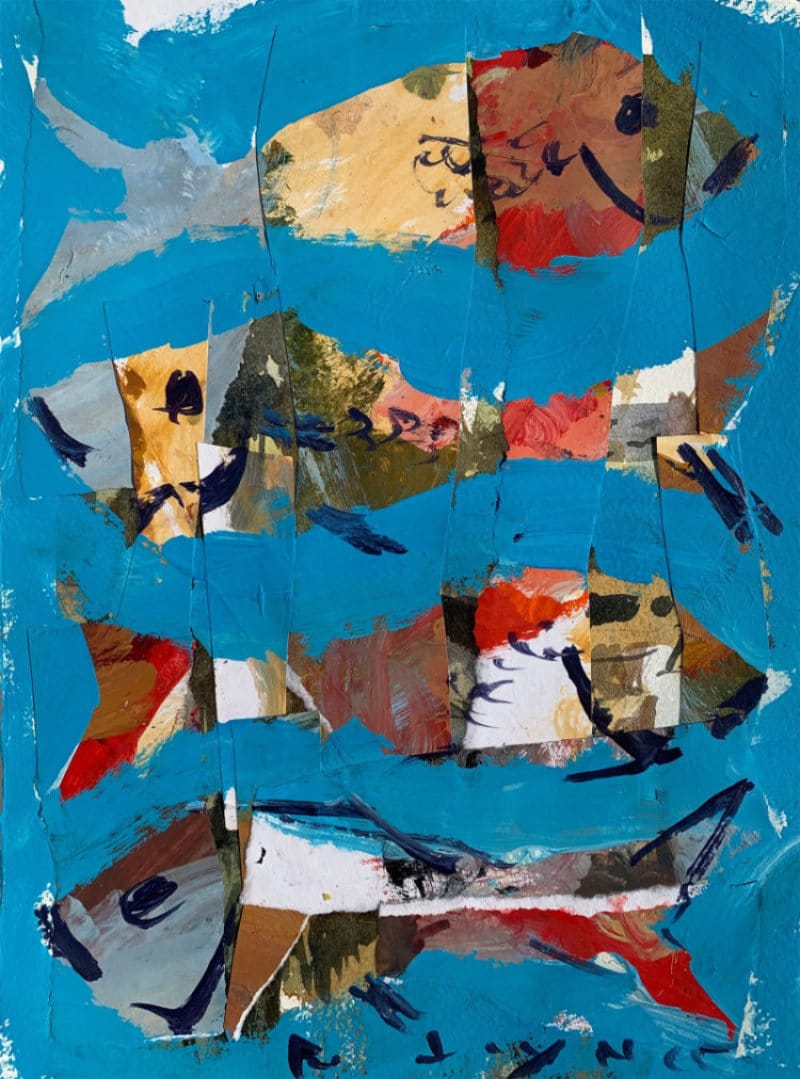
Method 5: Paper Strip Energy
Quick, forgiving, and instantly sophisticated—tearing papers into strips adds movement and visual surprises that's impossible to achieve with traditional brushwork. This technique works AMAZING over inferior art,
The execution:
- Tear or cut handmade papers into various strip widths, even mix in store bought paper, that's allowed in my garage
- Place them in rows - and leave gaps so the original reject shows
- Use a variety of collage paper and patterns - anything goes, and it somehow works
- Negative space paint - talk about instant gratification! The subject just comes to life in seconds as you smile ear to ear!
Why strips work: The linear quality adds structure while the torn edges keep it organic. It's beginner-friendly but looks professional.
Materials You Probably Have
- Surface: Bristol board, watercolor paper, or canvas
- Adhesive: Mod Podge (matte), wallpaper paste, or gel medium
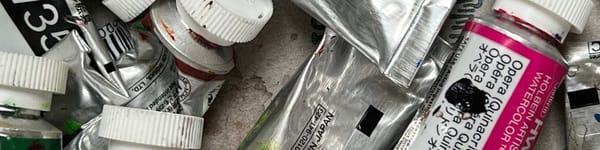
- Papers: Old sketches, failed paintings, practice sheets
- Paint: Whatever acrylics you have on hand
- Tools: Cheap brushes, palette knife, your fingers
- Mark-making: Graphite, crayons, markers
The Garage Artist Philosophy
After 16 years of making art, I've learned that the best techniques aren't the ones you read about—they're the ones you discover when you're too tired to follow rules and too invested to quit.
Traditional collage instruction focuses on clean edges and perfect placement. These methods embrace the messy, experimental side where real breakthroughs happen.
The approach:
- Use what you have before buying new supplies
- Let accidents guide the process
- Build on failures instead of starting over
- Trust the layers to tell their own story
Where to Go Next
Want full projects using these methods?
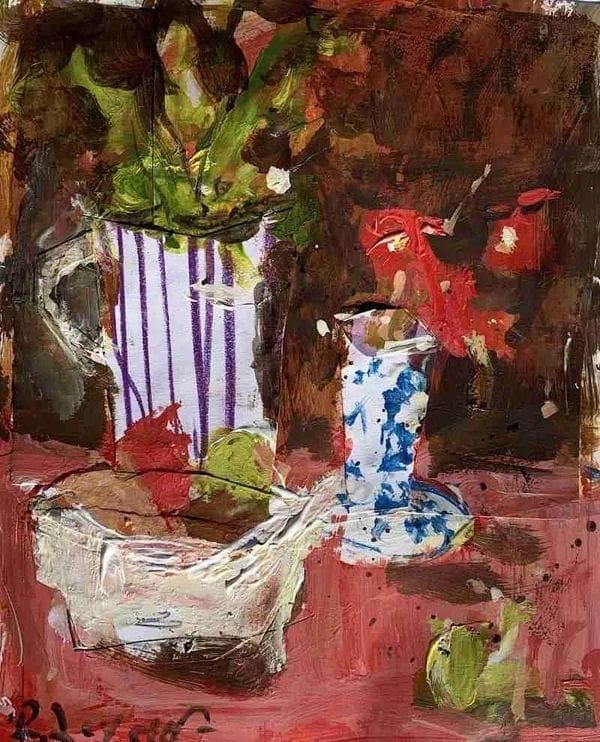
- Collage Still Lie with Fruit, Vessel and Bowl
- Acrylic and Collage Techniques on Bristol
- Collage Strips Technique with Fish
Need more mixed media techniques?
- Mixed Media Hub - fantastic resource for all things mixed media and collage
- Collage Art Ideas - showcasing my unique take on collaging
Ready for advanced approaches?
- Mixed Media Library - explore many tutorials and ideas or mixed media and collaging
The goal isn't perfect collages—it's authentic mixed media work that looks like it came from an artist's studio, not a craft store.
Supplies I Use All the Time
These are my go-to materials for almost every mixed media project I create. Do I add new ingredients occasionally? You betcha! But these are the go-to materials I rely on most. I know how they behave, how they layer, and how to get the best results from them.
- Acrylic Paints – I only buy heavy body for their thick texture and thin them with water for fluid glazing and washes. See my favorite set →
- Watercolors Paints – Great for transparent layers and unexpected color effects. Exact colors are below. Shop my watercolor picks →
- Acrylic Inks - Excellent way to add transparent layers to mixed media artwork. Mixes well with everything! See the inks →
- Synthetic Acrylic Brushes - You need a variety and I have listed my go-to's below. I use Princeton brands, very dependable! See the brushes →
- Watercolor Brushes - Get a decent grade but avoid all-natural as synthetic blends have come a long way. Shop my picks →
- Collage Papers – A mix of pattered, and printed paper you see me use is from Hobby Lobby, and it's usually found in the scrapbook section. Browse paper packs →
- Palette Knives – Good to have around for scooping paint and smearing techniques. See what I use →
- Blick Super Value Canvas Packs - Comes in many small and medium sizes up to 20x16". Love em'. Best bulk stretched canvas →
- Mixed Media Paper – Sturdy enough to handle wet and dry techniques. Strathmore is the way to go! Best paper for mixed media →
- Watercolor Paper - Top choice is 140 lb. cold press by Fabriano Artistico. Cost effective and crispy white. Best watercolor paper →
- Caran d'Ache Water-Soluble Crayons – Perfect for adding scribbles and linear interest to mixed media art. Check them out →
- Gator Board - Best firm boards you can find! Buy a large sheet and cut out down. These are used as backing for my paper when I paint. Check it out →
- Mod Podge - Reliable and affordable adhesive for paper, thick and thin. And get the Matte! View the glue →
My preferred hues; Cadmium Yellow, Yellow Ochre, Alizarin Crimson, Cadmium Red Light (or Medium), Ultramarine Blue, Cobalt Blue, Burnt Sienna, Titanium White
My preferred acrylic brushes; #12 Large round, 2x Medium rounds, 2x Detail, or liner brushes, Large and medium fan brush, a few medium size bristles and old, small house painting brush for glue.