Eye Socket Structure – How to Draw Eyes in Perspective
Understand the eye socket’s structure and how to draw eyes accurately in perspective using construction lines and facial planes.

In this lesson I’ll go deeper into the structure of the eye socket and show how it affects the placement of the eye. We’ll study how the sockets curve around the face and how to use construction lines to draw eyes that actually feel attached to the skull—something every portrait artist struggles with.
This lesson is part of the Head Drawing Course.
Building the Eye Socket Planes
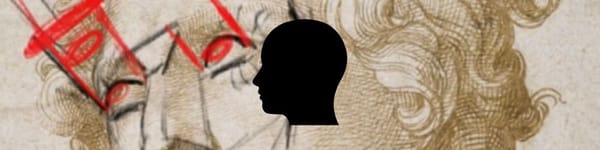
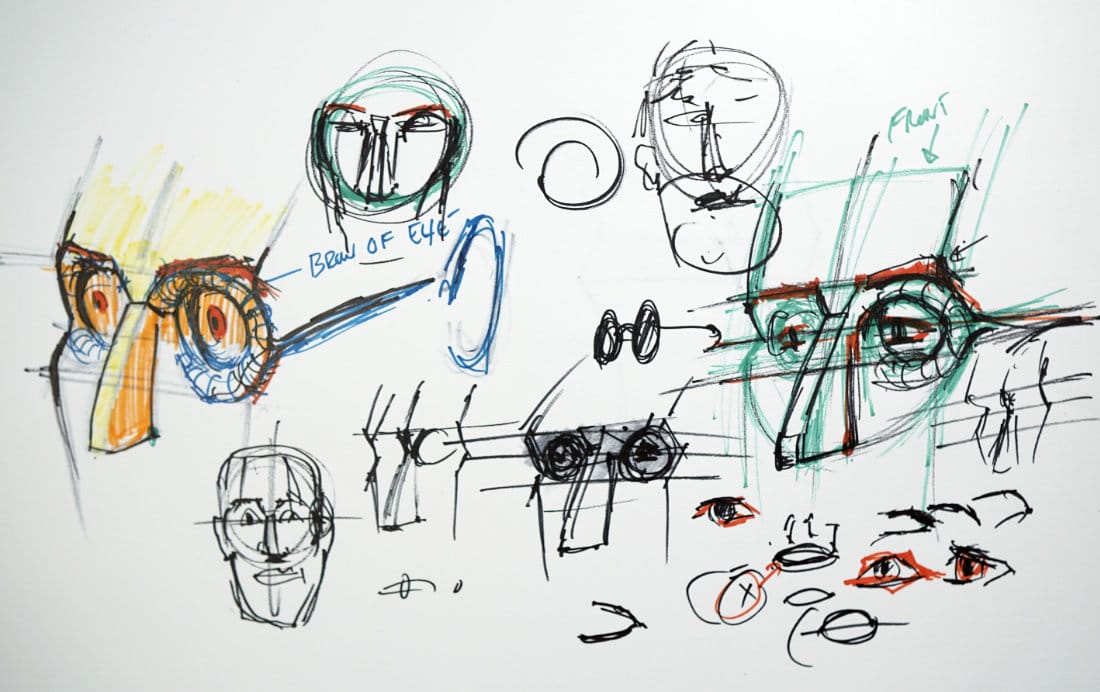
I start by mapping the skull using quick construction lines. The socket sits beneath the brow ridge and above the cheekbone, curving slightly around the face. Think of it as a hollow bowl instead of a flat circle.
The brow line arches over the eye, and the cheek supports it from below.
This helps determine where to place the eye and how far back it should sit within the skull.
Curves and Perspective
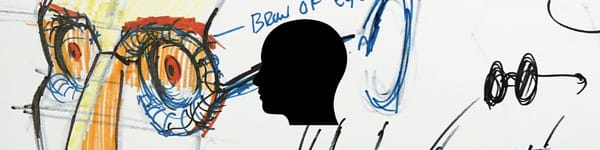
When you’re drawing a face in perspective, remember the sockets follow the head’s curvature. They sweep back toward the sides, giving us peripheral vision and creating that natural wrap-around effect.
If you’re wondering how do you draw eyes in perspective, this is the key—those sockets aren’t parallel or flat; they angle and recede.
Use light guidelines to connect the two eye sockets across the bridge of the nose. This line curves slightly, not straight across. That subtle arc gives your drawing a more lifelike, dimensional feel.
Connecting the Planes
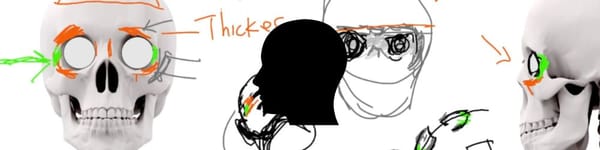
The socket connects to the zygoma (cheekbone) and brow ridge, both of which bulge slightly before receding back toward the side of the head. The root of the nose bridges the two sockets, forming a keystone shape in the center.
When you follow these planes across the face, the placement of the eyes starts to feel logical and structural—not just guessed or “stuck on.” Everything connects: the brow flows into the nose, which leads into the cheek, which then wraps back toward the ear.
Eyelid Differences
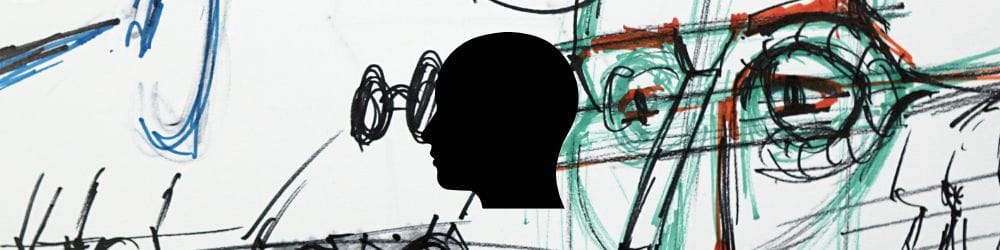
The top and bottom eyelids behave differently. The upper lid arches higher and moves more, while the lower lid stays quieter and flatter. Beginners often mirror both lids the same way, which kills the realism.
Keeping the upper lid more expressive gives life and variety to the eyes.
Practice Tips
- Draw the skull lightly first and mark the brow line before placing eyes.
- Keep the eye sockets rounded; avoid straight, flat lines.
- Emphasize the upper eyelid movement and vary the lower one.
- Always connect eyes to surrounding facial planes—nothing floats.
Course Navigation
Previous Lesson: Eye Socket with Skeleton
Next Lesson: Eye Placement
Visit the Head Drawing Hub: https://craftedbyrobert.com/how-to-draw-head-free-course/