Eye Socket Lecture – How to Draw Eyes Accurately
Learn how the eye socket supports and protects the eye. This lesson covers key bone structure, spacing, and placement for realistic portraits.

In this lesson, I’m breaking down the eye socket—how it connects to the nose, brow, and cheek, and how to draw eyes that actually feel set into the head. You’ll see how the sockets wrap around the face and why spacing and structure are everything when drawing eyes from life.
This lesson is part of the Head Drawing Course.
Understanding the Socket Structure
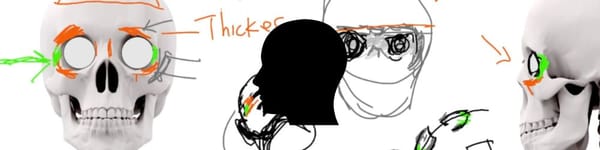
The best way to understand how the eyes fit into the skull is by using the nose as a reference point. The keystone shape between the eyes flows down into the nose, and from there, you can measure how far the eye socket sits back.
There’s always a bit of space between the bridge of the nose and the inner corner of the eye. Many beginners crowd this area, but leaving that small gap helps the eyes feel naturally placed and balanced across the face.
The “Donut” Form and Brow Ridge
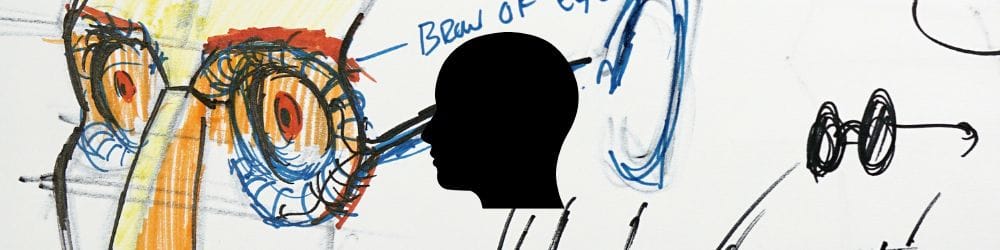
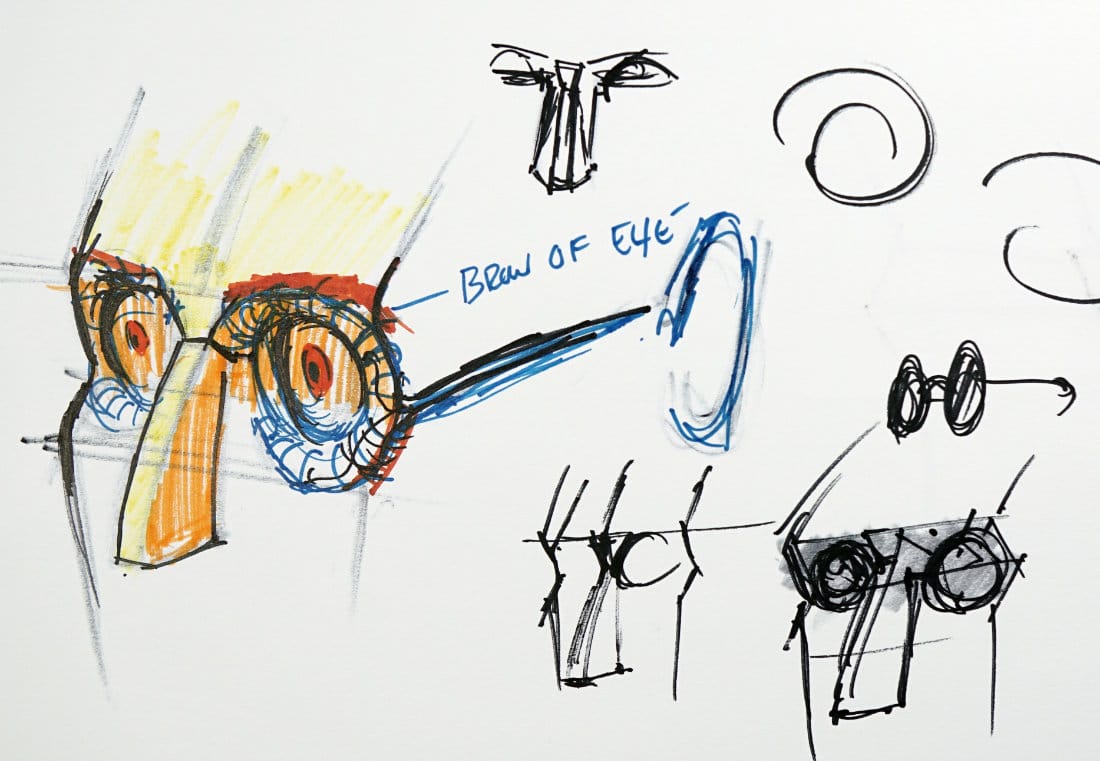
Think of the socket like a protective donut shape that wraps around the eye. The brow ridge is thick and curves down toward the cheekbone, creating depth and shadow. This “ring” not only protects the eyeball but gives the eye that recessed look we see in real faces.
The zygomatic arch—the cheekbone—connects to this structure and curves back toward the ear. It’s all one continuous form. Once you start thinking of the face in planes instead of outlines, everything lines up more naturally.
Eyebrows and Depth
Eyebrows usually begin near the keystone shape, then curve upward and taper around the socket. The change in direction at the brow ridge gives you a clear cue for how the bone turns away from the front of the face.
It’s this kind of observation that makes your drawings look dimensional instead of flat.
And remember: the eyeball sits deep in the socket, not right on the surface. Understanding that depth is what gives eyes their realism and shadow structure.
Common Mistakes
A big one I see is when artists push the eyes too close to the nose or make the face flat. Everything needs room to breathe. The sockets step back, the nose projects, and the cheeks round forward. The moment you flatten those planes, the head loses all its dimensional rhythm.
Practice Tips
- Start with the keystone shape between the eyes to anchor the structure.
- Leave space between the inner corner and nose bridge.
- Visualize the socket as a donut that wraps around the eyeball.
- Observe how the brow and cheek connect through curves, not straight lines.
Course Navigation
Previous Lesson: Eye Socket with Skeleton
Next Lesson: Eye Placement
Visit the Head Drawing Hub
Continue Learning
If you enjoyed this hand drawing course, explore even more lessons on our Free Drawing Tutorials & Courses Hub — including the complete How to Draw – Beginner’s Course.
Want new tutorials delivered to your inbox? Subscribe here and get free lessons, tips, and inspiration sent directly to you.