Master Ear Studies II – Simplicity and Placement
See how Pontormo and Raphael used subtlety and placement to suggest the ear’s form. Learn to simplify structure while keeping flow and proportion.

In this lesson, I’m studying a few Renaissance masters to see how they treated the ear. Artists like Pontormo and Raphael often simplified this feature beautifully, focusing more on placement and subtle structure than on every inner fold.
This lesson is part of How to Draw the Head Course.
The Pontormo Example
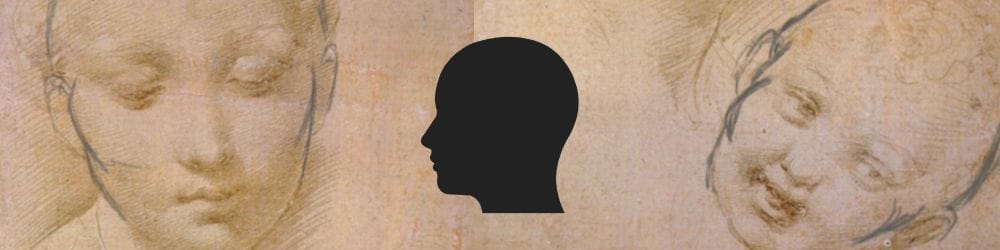
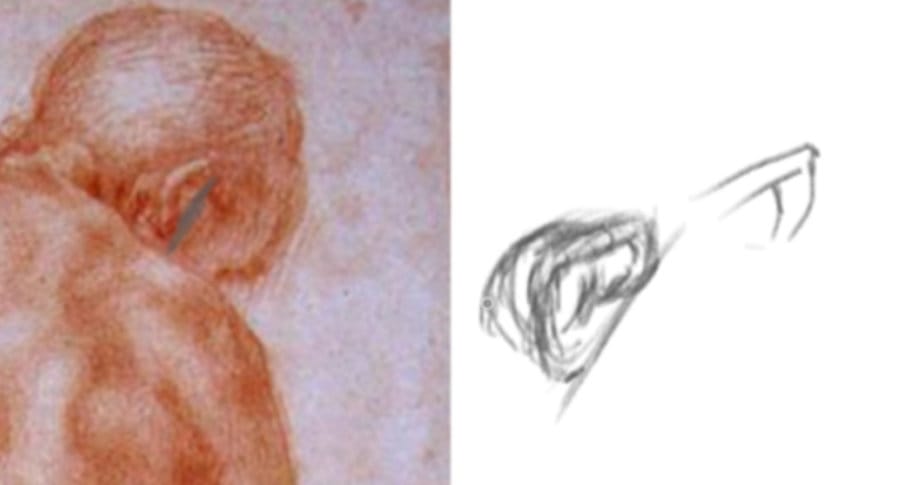
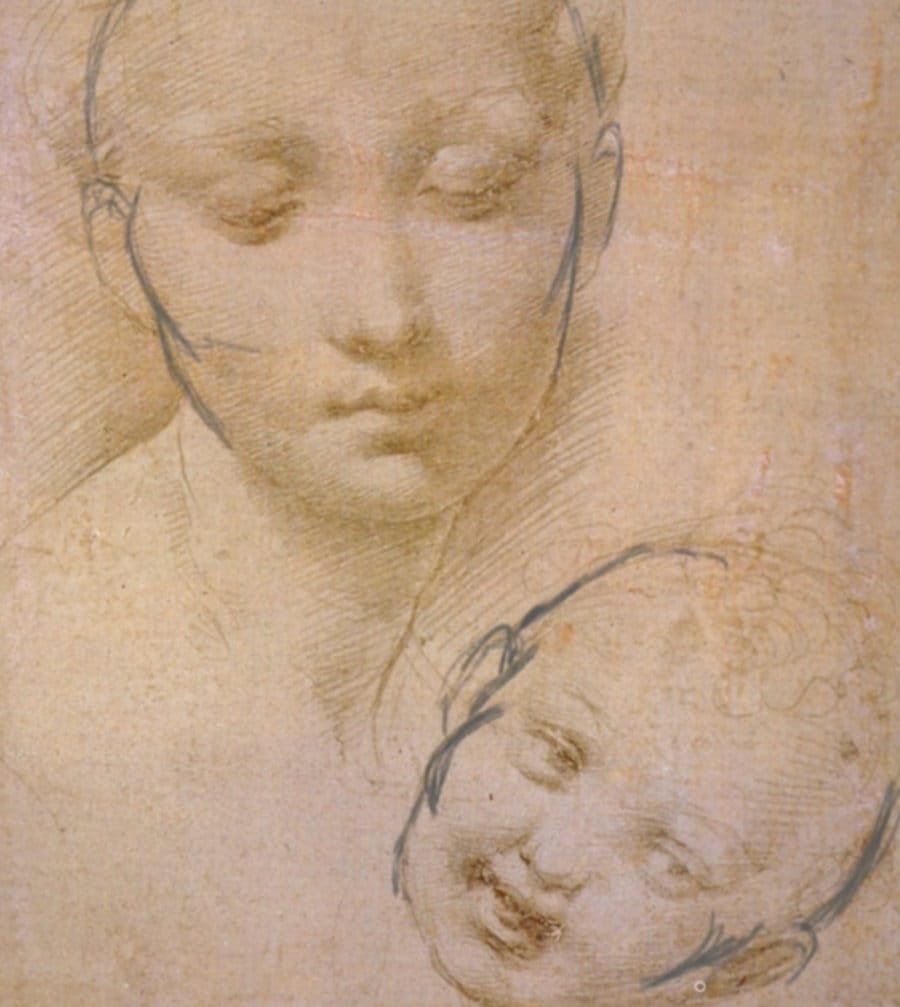
In the Pontormo study, we’re seeing the head turned slightly away, giving us a soft back-to-side view. The ear sits perfectly between the brow ridge and the base of the nose, aligning right where we’d expect.
Notice the tubular form of the outer rim — it rolls inward and curls back on itself, even though it’s only hinted at with a few strokes. The shadow around the base tells us how the ear attaches to the skull, showing both thickness and flow.
What’s beautiful here is how restrained the drawing is. The structure is clear without overstatement. The transitions between skull, cheek, and ear are seamless, and the form feels naturally “grown in,” not stuck on.
Raphael’s Elegant Simplicity
Raphael’s drawing, by contrast, barely describes the ear at all, just a contour, a touch of tone, and a hint of curvature. Yet, the placement is perfect. The cheeks overlap the ear, placing it behind the side plane, and the head’s rhythm feels complete without detail.
This is a reminder that in portrait drawing, not every feature needs equal attention. Raphael’s decision to underplay the ear keeps focus on the eyes, nose, and mouth—the emotional centers of the piece.
Even with minimal lines, you can still sense the bowl-like structure of the ear and how it connects behind the jaw and cheek. That connection is what matters most.
The Takeaway
From these examples, we learn two powerful lessons:
- Placement beats detail. Even subtle indication can suggest full form when the structure is right.
- Flow matters. Always think about how the ear transitions into the skull and cheek. It should never feel isolated.
When studying master drawings, pay attention to what they don’t draw as much as what they do. That’s where their confidence shows.
Course Navigation
Previous Lesson: Master Ear Analysis and Stylization
Next Lesson: Ear Drawing Part 6 – Assignment and Practice Reel
Head Drawing Hub: Complete Head Drawing Course
Continue Learning
If you enjoyed this hand drawing course, explore even more lessons on our Free Drawing Tutorials & Courses Hub — including the complete How to Draw – Beginner’s Course.
Want new tutorials delivered to your inbox? Subscribe here and get free lessons, tips, and inspiration sent directly to you.