How to Paint Sunrise and Sunset Light Effects in Acrylic
Discover how to capture the beauty of sunrise and sunset in acrylic. Learn to balance warm light, cool shadows, and soft sky transitions.

When you’re painting sunrise or sunset scenes, it’s all about balancing that glowing sky against darker land shapes. These moments are dramatic but easy to overwork if you forget the simple rule — keep the sky luminous and the ground tight in value.
This lesson is part of the Acrylic Landscape Painting Fundamentals Course.
Understanding the Scene
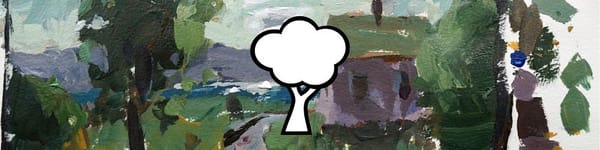
Every sunrise or sunset is unique. There’s no one-size-fits-all color recipe, but the key is contrast — a radiant, illuminated sky against the darker shapes of land and trees. Keep your land values close together and slightly subdued so the sky does the heavy lifting.
In this demo, I used a basic setup: a small country road, a few rolling hills, and cumulus clouds catching light from below the horizon. That subtle under-lighting creates instant atmosphere and depth.

Building the Light Gradations
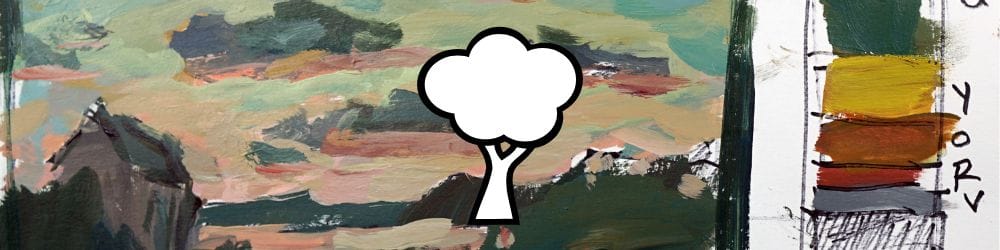
Think of the sky as layered horizontal bands — violet, red, orange, yellow, green, then blue — softly blending into each other. Then add a second gradation that radiates outward from the sun’s position, getting darker as it moves away from the light source.
A good trick: keep plenty of room in your values. If you start too light, you lose the ability to add glowing color later. Acrylics dry darker, so err on the side of slightly richer, deeper mixes.
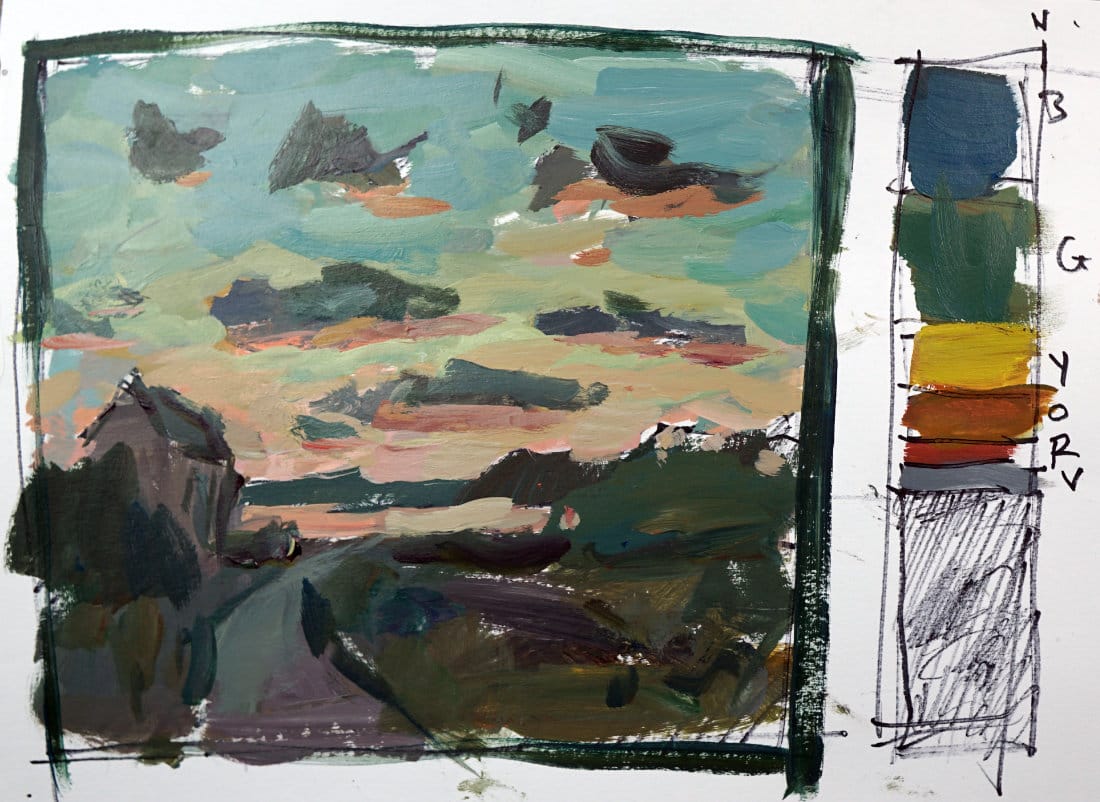
Suggested Palette
- Titanium White
- Cerulean Blue
- Viridian Green
- Cadmium Yellow Light
- Cadmium Orange
- Cadmium Red Light
- Alizarin Crimson
- Yellow Ochre
Each tone plays a role in creating those warm sky transitions and cooler shadows below. See my acrylic toolbox below.
Final Thoughts
The secret to painting great light effects is restraint — not every brushstroke needs to pop. Keep your shadows simple, layer your color gradually, and let the atmosphere do the storytelling.
Next, we’ll take these principles into front-lit landscapes, where direct sunlight hits the scene head-on.
Course Navigation
Next Lesson: Front-Lit Landscape
Previous Lesson: Sky and Cloud Painting Demo
Landscape Hub: View All Acrylic Landscape Lessons
Learn & Improve Your Acrylic Skills
- Acrylic Hub– Your go-to guide for tutorials, tips, and resources.
- Ultimate Beginner Acrylic Course - Start painting with confidence.
- Subscribe for More Great Content - Get tutorials, tips, and updates straight to your inbox.
- Follow Me on Pinterest - Daily inspiration, tips, and fresh ideas.
Recommended Acrylic Painting Materials
-
Princeton Catalyst Brushes – Flats (#6, #12), Rounds (#4, #8), Fan (#4), Liner Brush
Durable synthetic bristles for versatile acrylic techniques -
Liquitex Heavy Body Acrylic Paint – Essential Colors
Cadmium Yellow, Yellow Ochre, Alizarin Crimson, Cadmium Red Light, Ultramarine Blue, Cobalt Blue, Burnt Sienna, Titanium White -
Winsor & Newton Cotton Canvas
Reliable stretched canvas for studio and plein air work -
Strathmore 400 Series Mixed Media Paper
Heavyweight, acid-free paper for acrylic and mixed media -
Fabriano Artistico 140lb Cold Press Paper
Excellent for acrylic, mixed media, and textured effects -
Blick Multi-Colored Painting Knife Set
Variety of shapes for texture, scraping, and bold strokes - Miscellaneous: Two pint-sized water containers, paper towels (from Home Depot or Walmart)
- Note: I use canvas or sturdy cardboard as my palette — no store-bought palettes needed.