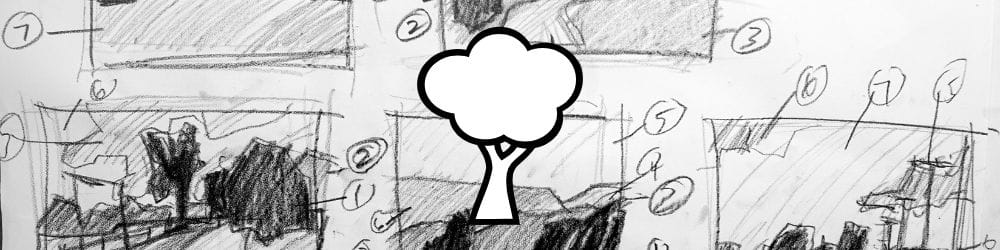
Robert's Practice Reel Part 1 - Watch the Instructor Demonstration
Watch Robert demonstrate the same 5-image practice reel. Learn how he simplifies each landscape into masses, makes shape decisions, and combines elements for stronger compositions.

You did the landscape painting practice reel. Now watch how I approached it. Compare your decisions to mine. Learn from the differences.
This lesson is part of the Acrylic Landscape Painting Fundamentals Course - learn to paint expressive landscapes from scratch.
Why Watch My Version?
This isn't about right or wrong.
It's about seeing a different perspective. Understanding how someone else interprets the same images.
You'll pick up new ideas. See things you missed. Learn alternative approaches.
My Process for Each Image
I always work the same way:
1. Find the horizon line first
This anchors everything. Establishes the basic structure.
2. Identify the biggest shape next
Usually distant mountains, large tree masses, or sky.
3. Work from large to small
Add the next biggest shape, then the next. Never start with details.
4. Keep asking: Can I combine these?
Trees with shadows? Fence with distant barn? Join them if values are similar.
5. Make shapes interesting
Vary edges. Change angles. Avoid geometric blandness.
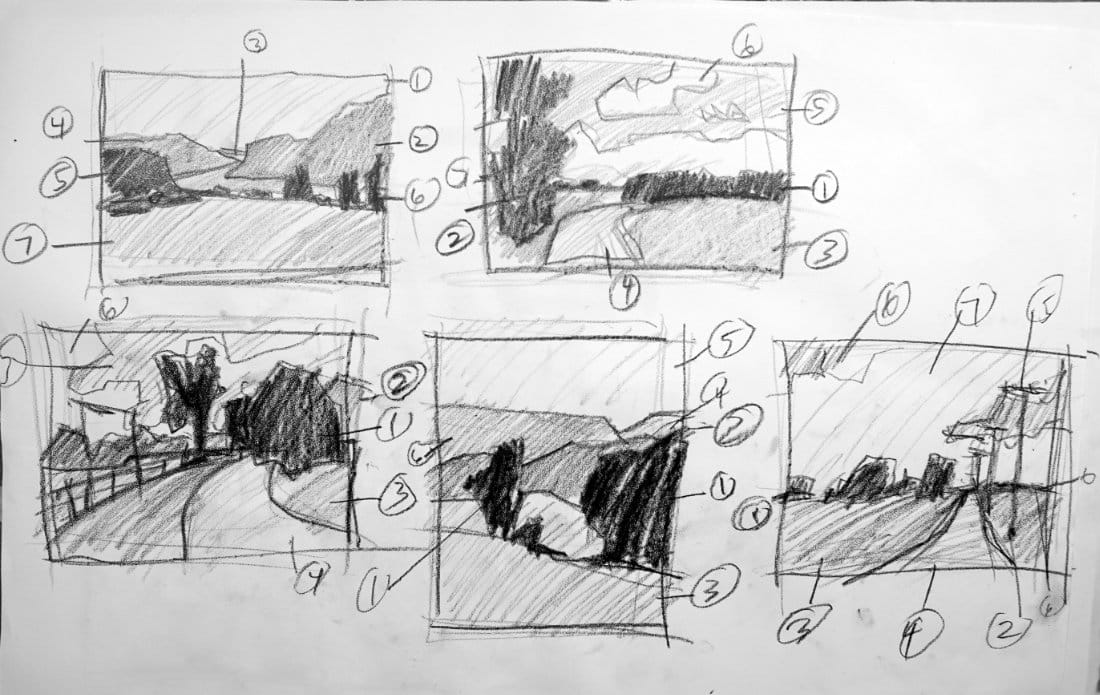
Image 1: Mountain Lake Scene
My 6 groups:
- Sky
- Large mountains (right)
- Distant hills (background)
- Distant hills (left)
- Foreground rock + trees along bank (combined!)
- Water
- Foreground/middle ground
Key decision: I joined those trees along the waterline with the foreground rock. Why? Similar value. Same distance from viewer. Can unify through value in the painting.
Image 2: Path Through Fields
My 7 groups:
- Distant trees (darkest darks!)
- Large tree mass (left)
- Ground plane
- Path
- Sky
- Cloud formations
- Lighter distant area
Key decision: The clouds are SO distinct here, they deserve to be their own mass. Not every sky needs cloud masses, but when they're this interesting? Use them.
Notice: Ground plane is darker than usual. That's fine. Value relationships matter more than following "rules."
Image 3: Fence and Large Bush
My 5 groups:
- Large bush (right)
- Distant trees
- Ground plane
- Tree + fence (combined!) + path
- Clouds
- Sky (negative space around clouds)
Key decision: That tree in the middle ground? I joined it with the fence value. They're similar tone, similar distance. Creates one interesting abstract shape instead of two boring ones.
Avoid the snowball shape! That big bush could easily become a boring circle. I made the edges varied and interesting.
Image 4: Simple Rolling Hills
My 6 groups:
- Tree mass (right) + shadow underneath
- Tree on lower left (combined with #1's shadow)
- Distant hills (all one mass)
- Middle distant hill
- Sky (simple gradation)
- Foreground hill
Key decision: This scene is SO simple, the success depends entirely on making those tree line angles interesting. The overlapping shapes. The way they mingle.
Subtle light/shadow here. We'll add that in Part 2.
Image 5: Telephone Poles and Path
My 6 groups:
- Tree mass
- Telephone poles (all connected through wires = ONE shape!)
- Field
- Path
- Clouds
- Distant trees
- Sky
Key decision: Those telephone poles aren't individual objects. The wires connect them into ONE continuous shape. That pole even extends up into the cloud, joining ground and sky planes.
Probably shouldn't have added the wires - too much detail for this stage. But it illustrates the point: connected elements = one mass.
What I'm Always Thinking
"Can similar values join together?"
Tree and fence? Tree and shadow? Path and field edge? If values are close, consider combining.
"Are my shapes interesting?"
Never settle for geometric blobs. Vary the edges. Change angles. Create dynamic forms.
"How many masses do I have?"
Constantly counting. If I'm over 7, I need to combine something.
"Where's my horizon?"
Always establish this first. Everything else relates to it.
Compare Your Choices to Mine
Look at your 5 drawings next to mine.
Did you combine things I kept separate? That's fine.
Did you keep things separate I combined? Also fine.
There's no single "correct" answer. But ask yourself:
- Did YOUR choices create interesting shapes?
- Did YOU stay under 7 masses?
- Are YOUR edges varied and dynamic?
That's what matters.
The Learning
By watching me work through the same images, you:
- See alternative approaches
- Learn new ways to combine shapes
- Understand how to make shapes more interesting
- Pick up decision-making strategies
Then you take those lessons to the next landscape you simplify.
Course Navigation
Next Lesson: Robert's Practice Reel Part 2 - Adding light and shadow with tracing paper
Previous Lesson: Practice Reel Assignment - Your timed exercise
Course Hub: Acrylic Landscape Fundamentals
Learn & Improve Your Acrylic Skills
- Acrylic Hub– Your go-to guide for tutorials, tips, and resources.
- Ultimate Beginner Acrylic Course - Start painting with confidence.
- Subscribe for More Great Content - Get tutorials, tips, and updates straight to your inbox.
- Follow Me on Pinterest - Daily inspiration, tips, and fresh ideas.
Recommended Acrylic Painting Materials
-
Princeton Catalyst Brushes – Flats (#6, #12), Rounds (#4, #8), Fan (#4), Liner Brush
Durable synthetic bristles for versatile acrylic techniques -
Liquitex Heavy Body Acrylic Paint – Essential Colors
Cadmium Yellow, Yellow Ochre, Alizarin Crimson, Cadmium Red Light, Ultramarine Blue, Cobalt Blue, Burnt Sienna, Titanium White -
Winsor & Newton Cotton Canvas
Reliable stretched canvas for studio and plein air work -
Strathmore 400 Series Mixed Media Paper
Heavyweight, acid-free paper for acrylic and mixed media -
Fabriano Artistico 140lb Cold Press Paper
Excellent for acrylic, mixed media, and textured effects -
Blick Multi-Colored Painting Knife Set
Variety of shapes for texture, scraping, and bold strokes - Miscellaneous: Two pint-sized water containers, paper towels (from Home Depot or Walmart)
- Note: I use canvas or sturdy cardboard as my palette — no store-bought palettes needed.


