Cropping and Format Choices in Landscape Composition
Discover how cropping and format choices shape the design and storytelling of your acrylic landscapes. Learn to see long, medium, and close-up compositions.

Composition starts with choices — what to include, what to leave out, and how much of the scene you want the viewer to experience. In this lesson, I walk through simple cropping strategies and show how different format ratios and viewpoints affect the design and mood of your landscape.
This lesson is part of the Acrylic Landscape Painting Fundamentals Course.
Seeing the Big Picture
When you’re outdoors, your eyes take in a wide cone of vision — sometimes 30° or more in every direction. That’s way too much to fit into a painting. So your first design decision is where to crop.
By narrowing your view, you start creating structure and intent instead of recording everything in front of you.
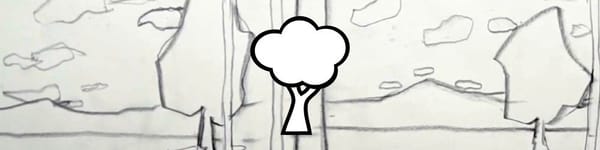
You can crop vertically, horizontally, square, or panoramic. Each choice changes how the viewer experiences the scene:
- Vertical: Emphasizes height, trees, and distance.
- Horizontal: Suggests openness and calm.
- Square: Creates stability and balance.
- Panoramic: Captures sweeping drama and scale.
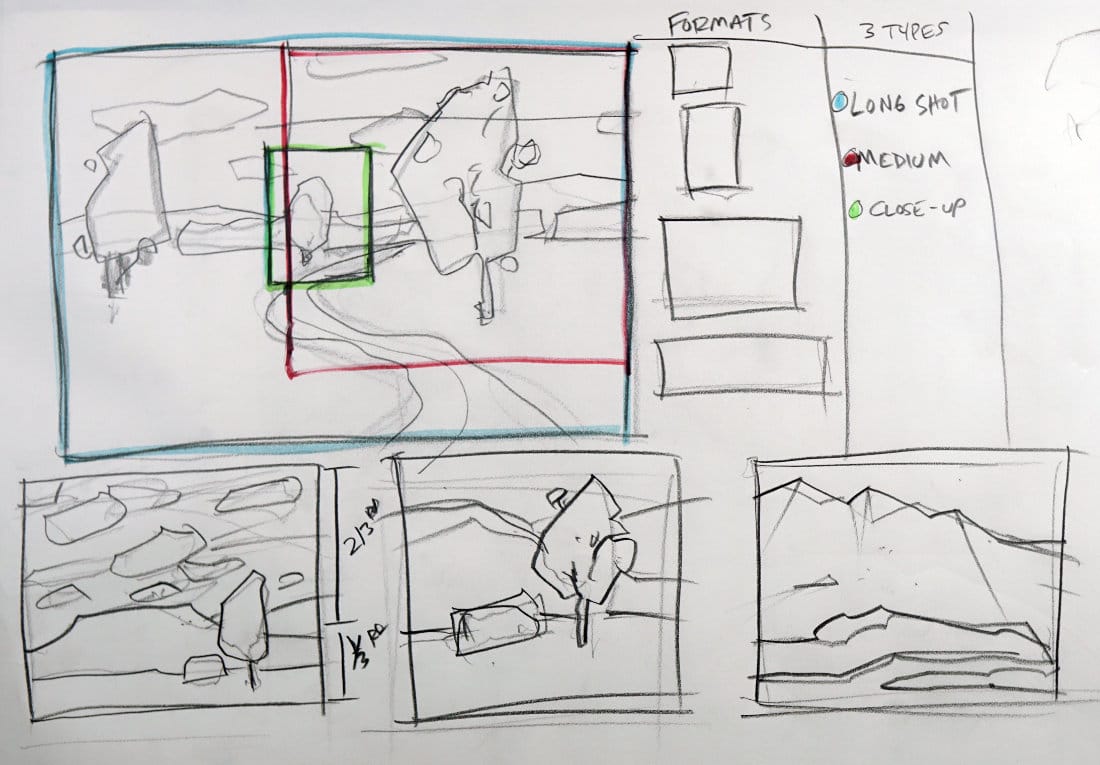
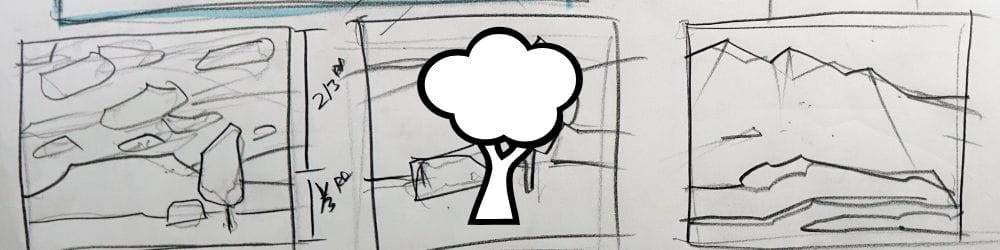
Long Shot, Medium, and Close-Up Views
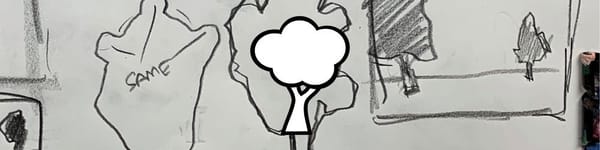
Borrowing from film composition, think of your scene in three possible “shot types”:
- Long Shot – Shows the broad environment: hills, sky, and foreground. Ideal for grand, open views.
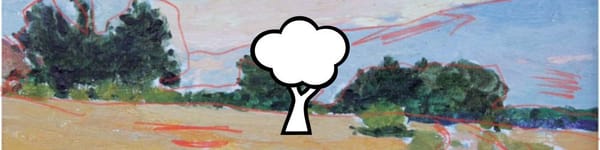
- Medium Shot – Focuses on one dominant shape or motif, like a tree with background hills.
- Close-Up – Zeroes in on a single subject or texture, like a tree trunk or patch of grass.
Each of these approaches tells a different story and sets a different mood. None is right or wrong — the trick is knowing why you’re choosing it.
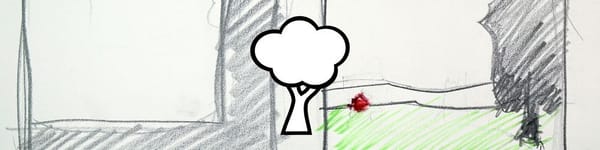
Adjusting the Crop for Emphasis
Once you’ve chosen a general viewpoint, fine-tune the crop to highlight what matters most:
- Want to feature the sky? Let it occupy about two-thirds of your canvas.
- Want the land to dominate? Reverse that — one-third sky, two-thirds land.
- Want to show a massive mountain or form? Move it higher in the frame to exaggerate its scale.
Even small shifts in horizon placement or subject scale can completely change the feeling of the painting.
Practical Tip: Use a Viewfinder
Many plein-air painters carry a simple viewfinder — a cardboard rectangle with various cut-outs. Looking through it helps isolate strong designs quickly. But you can just as easily use your hands or a camera phone to frame potential crops and test compositions before committing to paint.
Key Takeaways
- Cropping defines what story your landscape will tell.
- Experiment with different formats — each affects mood and rhythm.
- Think in “shots”: long, medium, or close-up views.
- Adjust the horizon or subject placement to create focus and energy.
- Use viewfinders or simple framing tools to simplify decisions on-site.
Course Navigation
Previous Section: Color Vibrations in Landscape Painting
Next Lesson: Linear and Mass Composition Techniques
Acrylic Landscape Painting Hub - view all lessons
Learn & Improve Your Acrylic Skills
- Acrylic Hub– Your go-to guide for tutorials, tips, and resources.
- Ultimate Beginner Acrylic Course - Start painting with confidence.
- Subscribe for More Great Content - Get tutorials, tips, and updates straight to your inbox.
- Follow Me on Pinterest - Daily inspiration, tips, and fresh ideas.
Recommended Acrylic Painting Materials
-
Princeton Catalyst Brushes – Flats (#6, #12), Rounds (#4, #8), Fan (#4), Liner Brush
Durable synthetic bristles for versatile acrylic techniques -
Liquitex Heavy Body Acrylic Paint – Essential Colors
Cadmium Yellow, Yellow Ochre, Alizarin Crimson, Cadmium Red Light, Ultramarine Blue, Cobalt Blue, Burnt Sienna, Titanium White -
Winsor & Newton Cotton Canvas
Reliable stretched canvas for studio and plein air work -
Strathmore 400 Series Mixed Media Paper
Heavyweight, acid-free paper for acrylic and mixed media -
Fabriano Artistico 140lb Cold Press Paper
Excellent for acrylic, mixed media, and textured effects -
Blick Multi-Colored Painting Knife Set
Variety of shapes for texture, scraping, and bold strokes - Miscellaneous: Two pint-sized water containers, paper towels (from Home Depot or Walmart)
- Note: I use canvas or sturdy cardboard as my palette — no store-bought palettes needed.