Unconventional Acrylic Collage Techniques on Bristol
Turn old drawings into handmade collage papers using acrylics, inks, crayons, graphite and more. Resourceful and authentic!

Tools you already own. Paper you already have. Results you haven’t seen before.
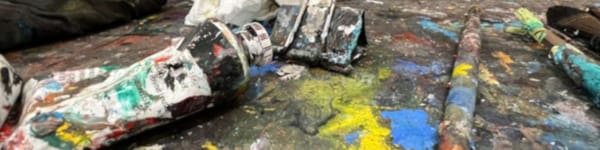
How I turn old sketches into handmade papers—and build mixed-media art that actually breathes. One afternoon in the garage I was staring at a stack of “fail” drawings. Instead of tossing them, I dragged leftover acrylic across the pages—scrapes, dry-brush, finger swipes. Ten minutes later I had a pile of handmade collage papers with a personality you can’t buy. That lucky accident became my go-to: recycle, repaint, and let Bristol do the heavy lifting.
👉 Discover more mixed media painting techniques in my Mixed Media Hub
Watch: Handmade Papers on Bristol (Full Video Demo)
Handmade Papers on Bristol
The Official Garage Studio Workflow
Make the papers from old drawings, glue to Bristol, flip and trim, build forms with acrylic and more collage, and never—never—be afraid to lay bold marks with graphite, crayon, or markers.
What you’ll learn
- Prep Bristol fast with Mod Podge (matte) or another adhesive that plays nice with collage + acrylic.
- Turn old drawings into ready-to-use handmade papers (do this first—your glue dries fast).
- Collage loosely: glue random shapes to Bristol without overthinking.
- Build form with negative painting, then add veils, scumbles, and mark-making to bring the subject to life.
Materials
- Surface: Bristol board (2–3 ply) or 140–300 lb watercolor paper
- Adhesive: Matte Mod Podge or Roman 543 wallpaper adhesive
- Acrylic paint: Heavy-body pro grade (thin with water for transparent layers)
- Papers: Old sketches and life-drawing sheets (~70 lb)
- Tools: Old brushes (or cheapies you don’t mind wrecking), glue brush, utility/X-Acto knife
- Mark-making: 4B graphite, artist crayons/oil pastels, refillable markers

Make the stash: turning old drawings into handmade collage paper
- Sort & rescue. Keep pages with interesting line/texture; ignore the “bad” drawing.
- Stain. At the end of sessions, drag leftover acrylic across the paper—scrapes, dry-brush, finger swipes. Keep a few sheets beside you and wipe brushes on them instead of water. Garage-artist secret.
- Crayons & markers. Add quick scribbles and motifs—no rules.
- Store. Stack them flat; pull the stash when you’re ready to explore.
→ Now you’ve got custom collage paper that’s authentically yours.
Prep & glue on Bristol
- Brush on adhesive (thin, even coat). Avoid puddles that cause buckling.
- Coat the collage piece lightly, too.
- Place & commit. Drop it on the Bristol—don’t get analytical here.
- Flip & smash. Turn it over and press firmly on a clean surface to push out air bubbles.
- Dry. Hair dryer or sun; slightly damp drawing paper tears easily, so give it a minute.
Pro tip: Work in layers. A few big pieces first, then medium, then accents.
Build the image
Have a reference or a simple idea (cups, flowers, boats). If you’re new, build a small inventory of Bristol + collage starters and practice on those.
A) Block the big shapes
Lead with large masses. Collage over collage is fair game, or brush in acrylic to connect shapes.
B) Negative painting (why I love it)
Paint the around to define the thing. It lets you work loose and clean up edges later—no fussy coloring-inside-the-lines.
C) Mark-making
Reach for 4B graphite, artist crayons, or a liner brush for quick energy. Refillable markers are great—just cap them so the tips don’t crust over.
D) Stop & observe
Step back and ask one question: “Can I see it?” If yes, keep going. If no, simplify a shape or punch one contrast.
Troubleshooting
- Make a decision. From viewing distance, if it’s not working, choose: set it aside, or make one bold change.
- Set it aside. Pin it where you’ll catch it in your peripheral vision—eventually it’ll tell you what it needs.
- One bold change. Add it with confidence, pause, reassess, repeat.
Where to go next
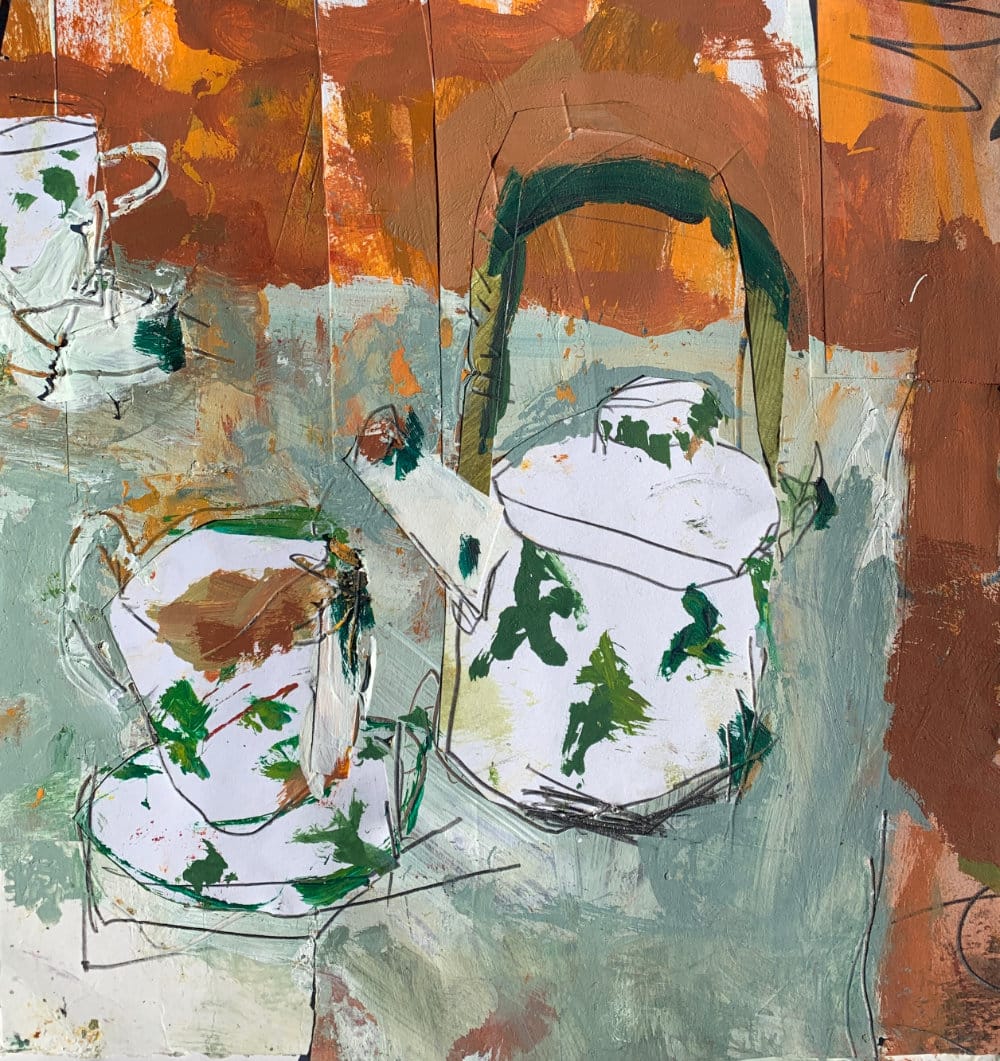
- Want full projects? Collage Still Life Tutorial
- Prefer florals? Mixed Media Flowers
- Need fresh prompts? Collage Art Ideas (16)
- New to acrylic? Acrylic Hub
Mixed Media Supplies I Use All the Time
These are my go-to materials for almost every mixed media project I create. Do I add new ingredients occasionally? You betcha! But these are the go-to materials I rely on most. I know how they behave, how they layer, and how to get the best results from them.
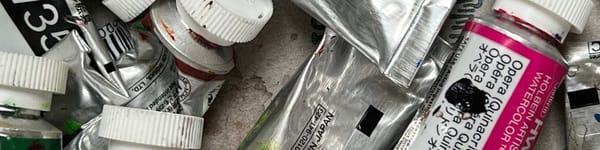
- Acrylic Paints – I only buy heavy body for their thick texture and thin them with water for fluid glazing and washes. See my favorite set →
- Watercolors Paints – Great for transparent layers and unexpected color effects. Exact colors are below. Shop my watercolor picks →
- Acrylic Inks - Excellent way to add transparent layers to mixed media artwork. Mixes well with everything! See the inks →
- Synthetic Acrylic Brushes - You need a variety and I have listed my go-to's below. I use Princeton brands, very dependable! See the brushes →
- Watercolor Brushes - Get a decent grade but avoid all-natural as synthetic blends have come a long way. Shop my picks →
- Collage Papers – A mix of pattered, and printed paper you see me use is from Hobby Lobby, and it's usually found in the scrapbook section. Browse paper packs →
- Palette Knives – Good to have around for scooping paint and smearing techniques. See what I use →
- Blick Super Value Canvas Packs - Comes in many small and medium sizes up to 20x16". Love em'. Best bulk stretched canvas →
- Mixed Media Paper – Sturdy enough to handle wet and dry techniques. Strathmore is the way to go! Best paper for mixed media →
- Watercolor Paper - Top choice is 140 lb. cold press by Fabriano Artistico. Cost effective and crispy white. Best watercolor paper →
- Caran d'Ache Water-Soluble Crayons – Perfect for adding scribbles and linear interest to mixed media art. Check them out →
- Gator Board - Best firm boards you can find! Buy a large sheet and cut out down. These are used as backing for my paper when I paint. Check it out →
- Mod Podge - Reliable and affordable adhesive for paper, thick and thin. And get the Matte! View the glue →
My preferred hues; Cadmium Yellow, Yellow Ochre, Alizarin Crimson, Cadmium Red Light (or Medium), Ultramarine Blue, Cobalt Blue, Burnt Sienna, Titanium White
My preferred acrylic brushes; #12 Large round, 2x Medium rounds, 2x Detail, or liner brushes, Large and medium fan brush, a few medium size bristles and old, small house painting brush for glue.