Step-by-Step Guide to Watercolor Landscape Painting
Embark on a journey of watercolor landscape painting with this step-by-step guide that will teach you the entire process. Beginner friendly!


Embark on a journey of watercolor landscape painting with this step-by-step tutorial that will guide you through the entire process. Discover seven simple steps and three bonus tips to create stunning landscapes with solid design, beautiful color harmony, and a sense of visual hierarchy.
Watercolor Landscapes Tutorial Guide
Before diving into the painting process, it’s important to plan your artwork. This doesn’t have to be overly complicated, but having a clear idea of the focal point and value strategy will set the foundation for a successful painting. Confusion can be avoided by visualizing the desired outcome.
While this article provides valuable tips, it only scratches the surface of the vast world of watercolor design. However, these tips are beneficial for beginners and aspiring artists alike.
Take a moment to observe the watercolor landscape painting showcased below. Behind its seemingly simple appearance lies technique and thoughtful execution.
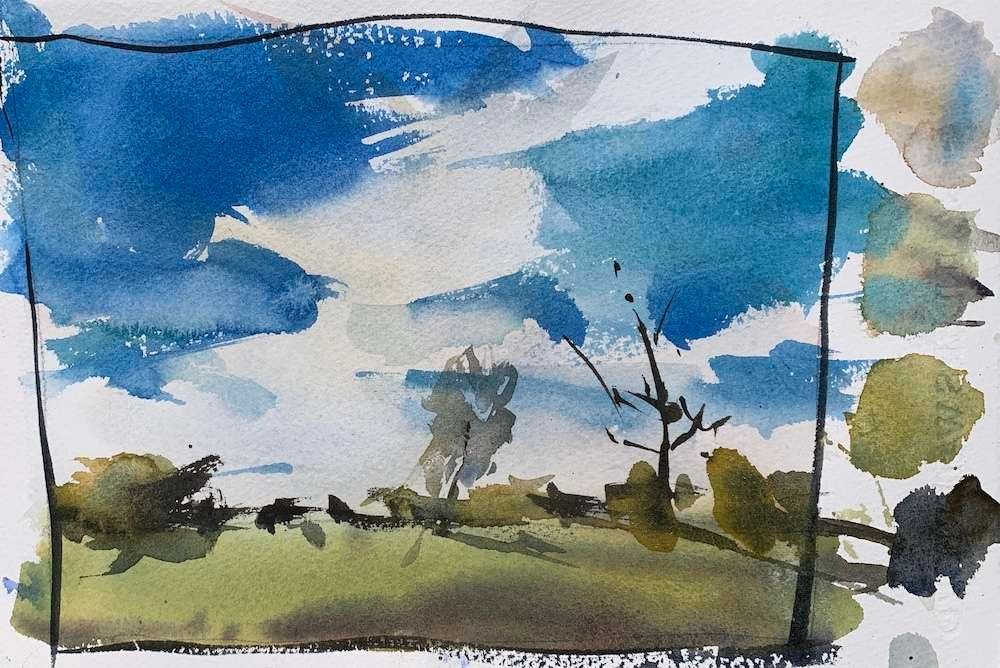
To enhance your landscape paintings, here are three easy design tips to keep in mind.
- First, avoid placing the horizon line in the middle of the composition; instead, favor the top or bottom to create a balanced composition.
- Secondly, plan the placement of the darkest and lightest values in close proximity to each other to achieve contrast. For example, juxtapose dark distant trees against bright white clouds in the distance.
- Lastly, prioritize your color choices, especially for the sky and ground plane. Opt for Cobalt blue for the sky and a softer warm green for the ground plane, ensuring the colors complement each other.
Remember, poor planning or lack thereof can result in an unbalanced composition. Take the time to plan your painting before applying any brushstrokes to achieve the desired outcome. So, grab your paints and brushes, and let your creativity unfold on the paper!
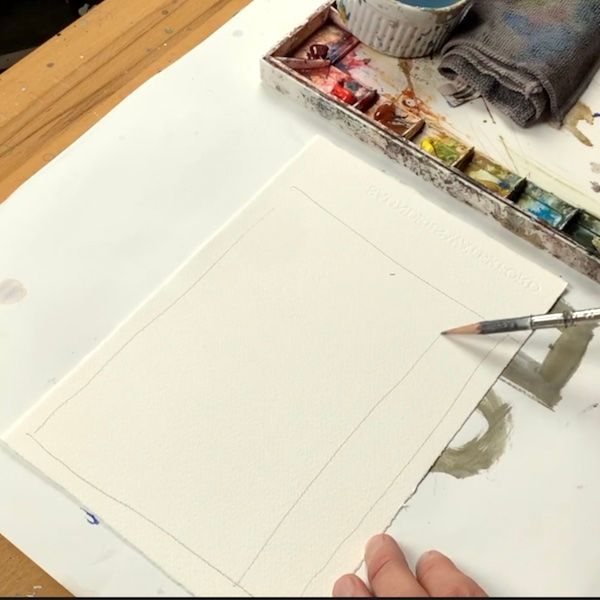
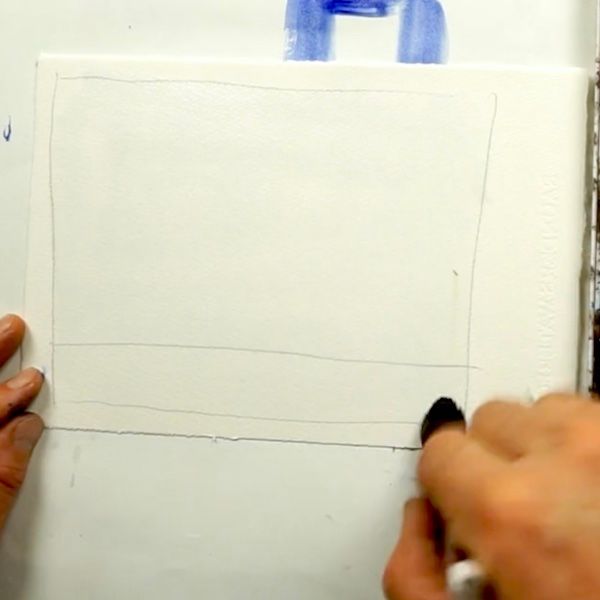
Step #1: Add contour drawing
- Begin by planning the focal point and arranging the large shapes of the landscape on your page.
- A light sketch can help guide you in achieving the desired composition.
- The demo uses Fabriano Artistico 140 lb cold press paper, measuring 6″ x 8″.
- The level of detail in your sketch can vary based on your desired realism.
- In this particular watercolor landscape, only the horizon line needs to be drawn, while the other elements are painted using imagination while keeping the overall design in mind.
Step #2: Pre-wet paper
- Begin by pre-wetting the paper, ensuring not to oversaturate it.
- The Silver black velvet jumbo round brush is recommended for this step, as it provides excellent results and is an affordable option.
- If there are any puddles of water, make sure to remove the excess to prevent the washes from drying too weak or transparent.
- The initial wash should be weak, as more saturated hues will be added over them in later stages.
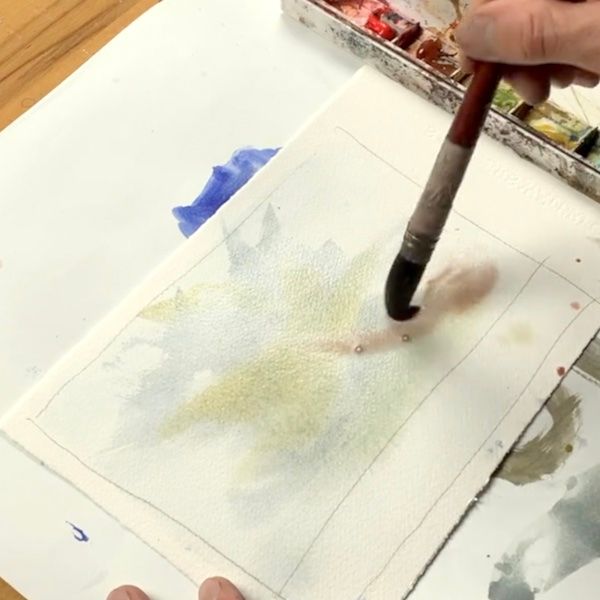
Step #3: Add light wash to sky and land masses
- Begin adding color to your watercolor landscape using Holbein paints (recommended for this demonstration).
- Create subtle grays by mixing cerulean blue, yellow ochre, and a generous amount of water.
- Apply the wash in a very pale tone, keeping in mind that it will dry lighter than it appears when wet due to watercolor’s drying characteristics.
- Pro tip: Watercolor tends to dry about 20-30% lighter in value, so plan accordingly. If the hue you apply appears to be the desired tone, it’s likely too light. Consider mixing a slightly darker hue for a more accurate result.
- Avoid over-blending or excessively mixing the hues.
- Keep brushstrokes minimal to add interest and texture to the sky, avoiding a flat wash appearance.
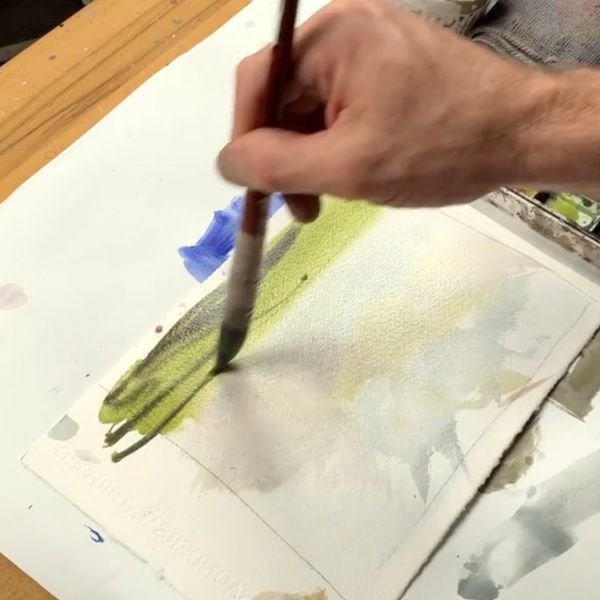
Step #4: Paint Ground Plane
- Add the ground plane while the paper is still wet.
- Note: If the board is slightly angled down, prop it up to facilitate the flow of washes downwards. In this case, the painting was flipped so that the green flows into the sky instead of the bottom of the paper.
- The goal is to achieve a vibrant green hue that will provide a pleasing contrast with the upcoming crisp blue sky.
- Planning ahead will greatly simplify decision-making as you paint.
- When done correctly, the greens will bleed into the sky area, which is perfectly fine. Embrace the mingling of colors and avoid trying to exert too much control.
- To create darker green shades, add a little neutral tint to the green. This will introduce variation to the ground plane.
- Once again, allow the paint to move freely without excessive control.

Step #5: Paint the sky
- It’s time for the fun part! The sky plays a significant role in the design as it occupies one-third of the painting.
- Paint the sky using negative space technique, ensuring that the paper is completely dry. Instead of wet-in-wet, we will use wet-in-dry method for more control and crisp edges.
- Mix Cobalt blue with a little water to create the sky color.
- The sky should have impact, but not uniformly across the entire area. If all the blues in the sky are highly saturated, it can appear heavy and flat. By keeping some areas of the sky less intense, you can add more visual interest.
- Additionally, aim to create interesting shapes by painting large, cumulus clouds. Start with larger clouds at the top and gradually make them smaller as they approach the horizon area.
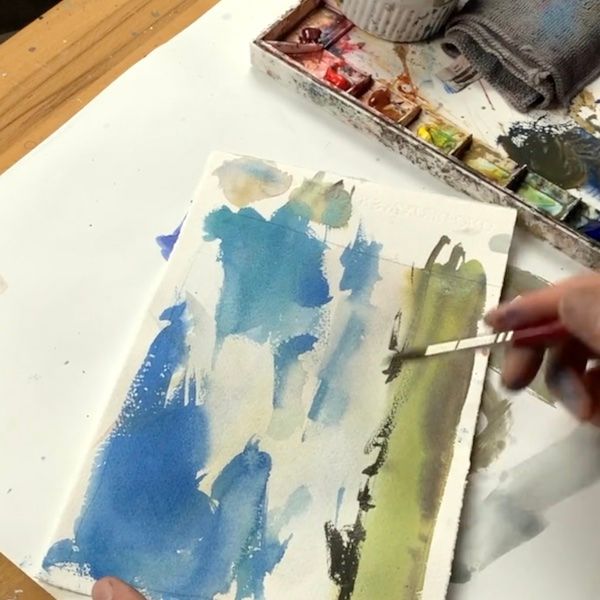
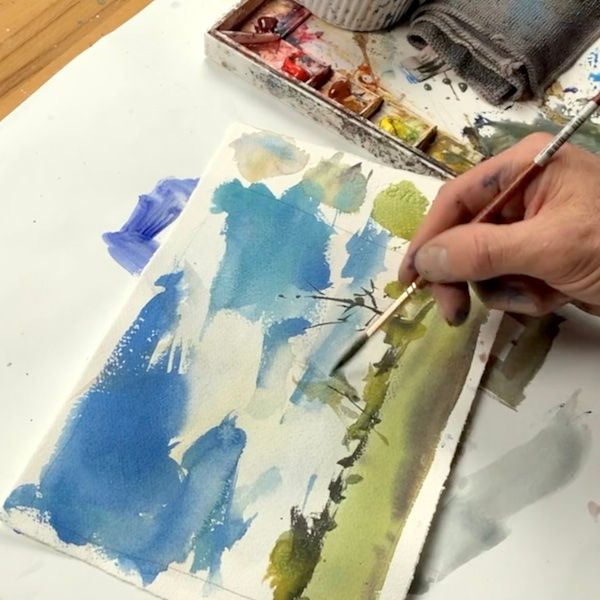
Step #6: Paint distant trees and ground plane
- To add details, use a Princeton Neptune pointed round #6 brush.
- Mix a neutral hue that leans towards a dark green for the trees. This will be the darkest value in the overall design.
- Switch to a smaller pointed round brush (Princeton Neptune #12 was used in the demonstration) for more control.
- Keep the brushstrokes loose and suggestive. Remember, you’re not aiming to create realistic trees, but rather symbolic shapes.
- Take note that the white areas representing the sky are already dry, allowing each brushstroke to show texture.
- Leave a few gaps where no trees exist. This step is crucial for maintaining the overall design and ensuring visual appeal.
Step #7: Paint larger trees and details
- Use a rigger or liner brush to add the taller tree trunks. Ensure that each trunk is thin and distinct from the others.
- Create variation by making one tree taller than the rest, but avoid placing it directly in the center of the composition.
- For the foliage, mix a thin, tea-like mixture of warm greens. This will give the leaves a transparent and airy appearance.
- Congratulations! You have successfully created an incredible watercolor landscape scene. Well done!
Final Thoughts
Now you have learned how to paint a watercolor landscape step-by-step, and it’s truly a rewarding process. By following just five simple steps, you can create your own masterpiece filled with vibrant colors and scenic beauty.
Don’t be afraid to explore different color palettes and various watercolor techniques to add your own unique touch to the artwork. If you found this tutorial a bit overwhelming, there’s also an easy watercolor landscape tutorial for beginners that you can try.
We would love to hear about your experience! How did your landscape turn out?
We are confident that it looks amazing. If you are a member, feel free to share your thoughts in the comments below. If you’re looking for more inspiration, we have plenty of other fantastic ideas for easy watercolor paintings. Your feedback is valuable to us, so please let us know if you enjoyed this step-by-step tutorial. Happy painting!