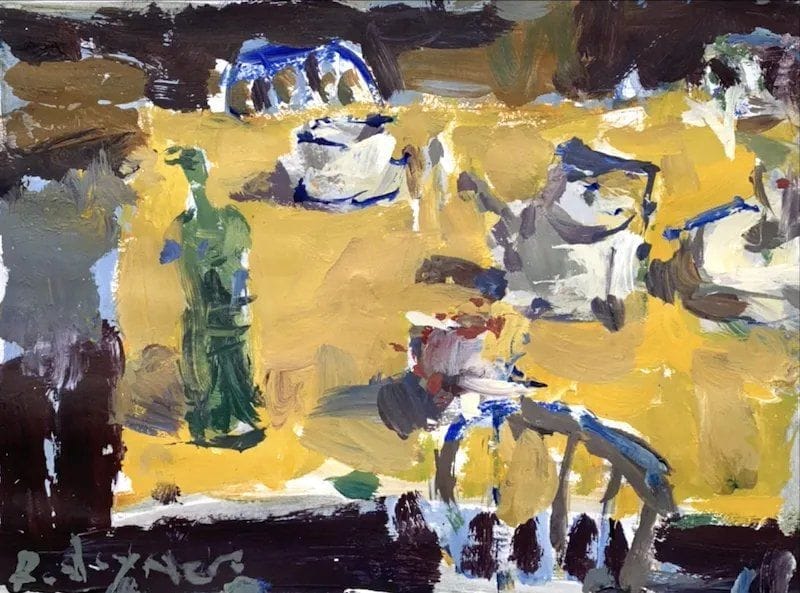
Loose Acrylic Still Life Painting Tutorial
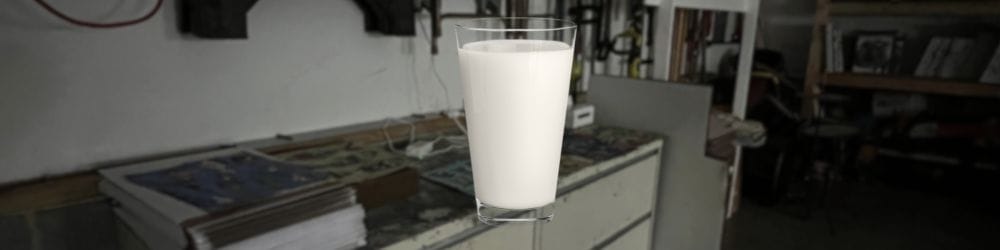
When I paint interiors, it could be seafood dinners, Twinkies, or a glass of milk. This step-by-step acrylic still life keeps it raw and loose—garage style.

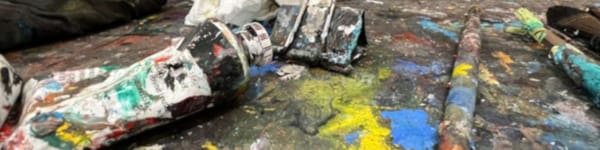
In this tutorial, I’ll show you how to paint a loose acrylic still life step by step. No polish, no three-camera setup—just the way I paint in the garage studio.
I’ve got plenty of excuses for why I don’t paint more interior-inspired artwork. It’s right in my wheelhouse, too. The possibilities are endless—anything from a seafood dinner setup to a patterned tablecloth with HoHo’s and Twinkies (oh, and let’s not forget the tall glass of cold milk).
Anyhow, enjoy the video, and scroll down to see the step-by-step breakdown, the finished image, and my go-to acrylic toolbox.
Learn & Improve Your Acrylic Skills
- Acrylic Hub– Your go-to guide for tutorials, tips, and resources.
- Subscribe for More Great Content - Get tutorials, tips, and updates straight to your inbox.
- Follow Me on Pinterest - Daily inspiration, tips, and fresh ideas.
Looking for my full painting courses? Get instant access here →
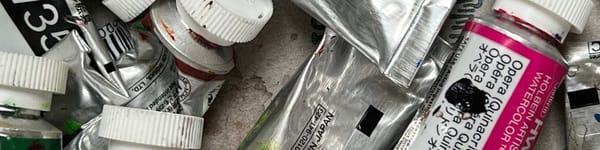
Recommended Acrylic Painting Materials
-
Princeton Catalyst Brushes – Flats (#6, #12), Rounds (#4, #8), Fan (#4), Liner Brush
Durable synthetic bristles for versatile acrylic techniques -
Liquitex Heavy Body Acrylic Paint – Essential Colors
Cadmium Yellow, Yellow Ochre, Alizarin Crimson, Cadmium Red Light, Ultramarine Blue, Cobalt Blue, Burnt Sienna, Titanium White -
Winsor & Newton Cotton Canvas
Reliable stretched canvas for studio and plein air work -
Strathmore 400 Series Mixed Media Paper
Heavyweight, acid-free paper for acrylic and mixed media -
Fabriano Artistico 140lb Cold Press Paper
Excellent for acrylic, mixed media, and textured effects -
Blick Multi-Colored Painting Knife Set
Variety of shapes for texture, scraping, and bold strokes - Miscellaneous: Two pint-sized water containers, paper towels (from Home Depot or Walmart)
- Note: I use canvas or sturdy cardboard as my palette — no store-bought palettes needed.