How to Paint Mixed Media Flowers with Acrylic & Collage
Dive into a step-by-step guide for painting abstract acrylic flowers. Includes video tutorial. Unlock secrets to creating loose floral artwork.

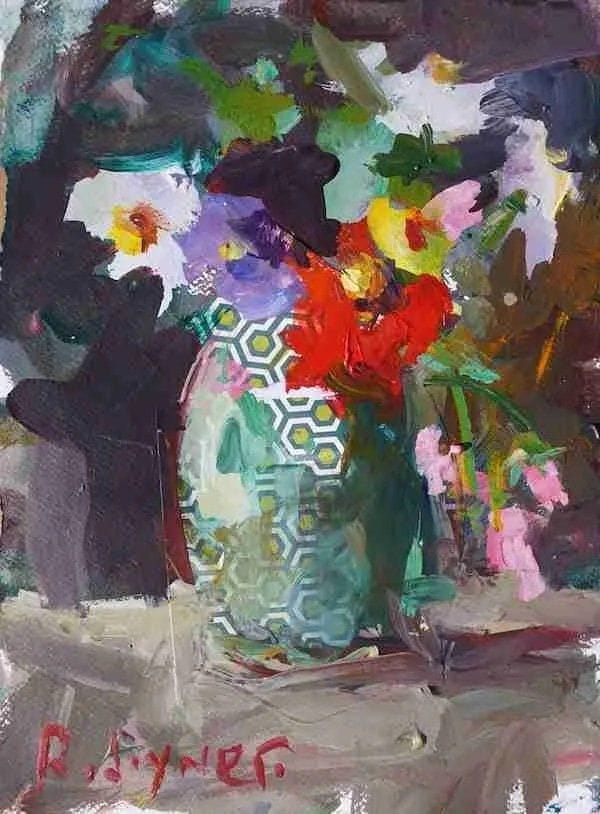
Painting mixed media flowers is a fun, expressive way to combine the fast-drying, vibrant color of acrylics with the additional textures of collage. In this tutorial, I’ll walk you through my step-by-step process for creating a layered floral painting that’s loose, colorful, and full of personality.
Now, here’s the backstory. I’ve never really been much of a pedal pusher — flowers just weren’t something that appealed to me as an artist. I always leaned toward the grungy and rustic: boat docks, abstract cows, that sort of thing. But when I started experimenting with collage, something clicked. I thought, “Maybe I can do flowers… if I give them a little twist.”
The piece I’m sharing with you today was one of the first times I brought collage into flower painting, and I thought it was interesting enough to capture on camera. Truth is, I still don’t paint flowers all that often. But when I do return to them, I have a process that feels familiar and approachable. My hope is that this tutorial bridges any uncertainty you might have too — and helps you see flowers in a new, mixed media light.
Final Thoughts
This mixed media flower painting process blends acrylic color with collage texture for a unique, vibrant result. If you’ve never combined the two, try it — the combination opens up endless creative possibilities.
Want to go deeper with collage & mixed media?
👉 Explore the Mixed Media Hub
👉 Browse Collage Painting Ideas
👉 Dive into the Garage Collage Barrage
Supplies I Use All the Time
These are my go-to materials for almost every mixed media project I create. Do I add new ingredients occasionally? You betcha! But these are the go-to materials I rely on most. I know how they behave, how they layer, and how to get the best results from them.
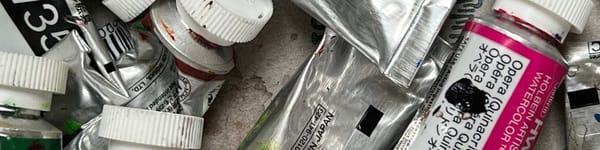
- Acrylic Paints – I only buy heavy body for their thick texture and thin them with water for fluid glazing and washes. See my favorite set →
- Watercolors Paints – Great for transparent layers and unexpected color effects. Exact colors are below. Shop my watercolor picks →
- Acrylic Inks - Excellent way to add transparent layers to mixed media artwork. Mixes well with everything! See the inks →
- Synthetic Acrylic Brushes - You need a variety and I have listed my go-to's below. I use Princeton brands, very dependable! See the brushes →
- Watercolor Brushes - Get a decent grade but avoid all-natural as synthetic blends have come a long way. Shop my picks →
- Collage Papers – A mix of pattered, and printed paper you see me use is from Hobby Lobby, and it's usually found in the scrapbook section. Browse paper packs →
- Palette Knives – Good to have around for scooping paint and smearing techniques. See what I use →
- Blick Super Value Canvas Packs - Comes in many small and medium sizes up to 20x16". Love em'. Best bulk stretched canvas →
- Mixed Media Paper – Sturdy enough to handle wet and dry techniques. Strathmore is the way to go! Best paper for mixed media →
- Watercolor Paper - Top choice is 140 lb. cold press by Fabriano Artistico. Cost effective and crispy white. Best watercolor paper →
- Caran d'Ache Water-Soluble Crayons – Perfect for adding scribbles and linear interest to mixed media art. Check them out →
- Gator Board - Best firm boards you can find! Buy a large sheet and cut out down. These are used as backing for my paper when I paint. Check it out →
- Mod Podge - Reliable and affordable adhesive for paper, thick and thin. And get the Matte! View the glue →
My preferred hues; Cadmium Yellow, Yellow Ochre, Alizarin Crimson, Cadmium Red Light (or Medium), Ultramarine Blue, Cobalt Blue, Burnt Sienna, Titanium White
My preferred acrylic brushes; #12 Large round, 2x Medium rounds, 2x Detail, or liner brushes, Large and medium fan brush, a few medium size bristles and old, small house painting brush for glue.